In this post, we'll explain how to use premade layouts to capture elements on your screen, and show you how to save any custom layout with the click of a button! This is a useful feature for all Cross Clip users, but especially if you use a stream layout vastly different from any of the premade templates, or if you have multiple layouts in your videos that you'd like to quickly swap between.
Getting started
To get started, you'll need a clip. Either drop in a Twitch or Kick Clip URL on the homepage, or upload a file directly from your computer (like your downloaded YouTube stream). For more information on how to get started with Cross Clip, check out this getting started guide.
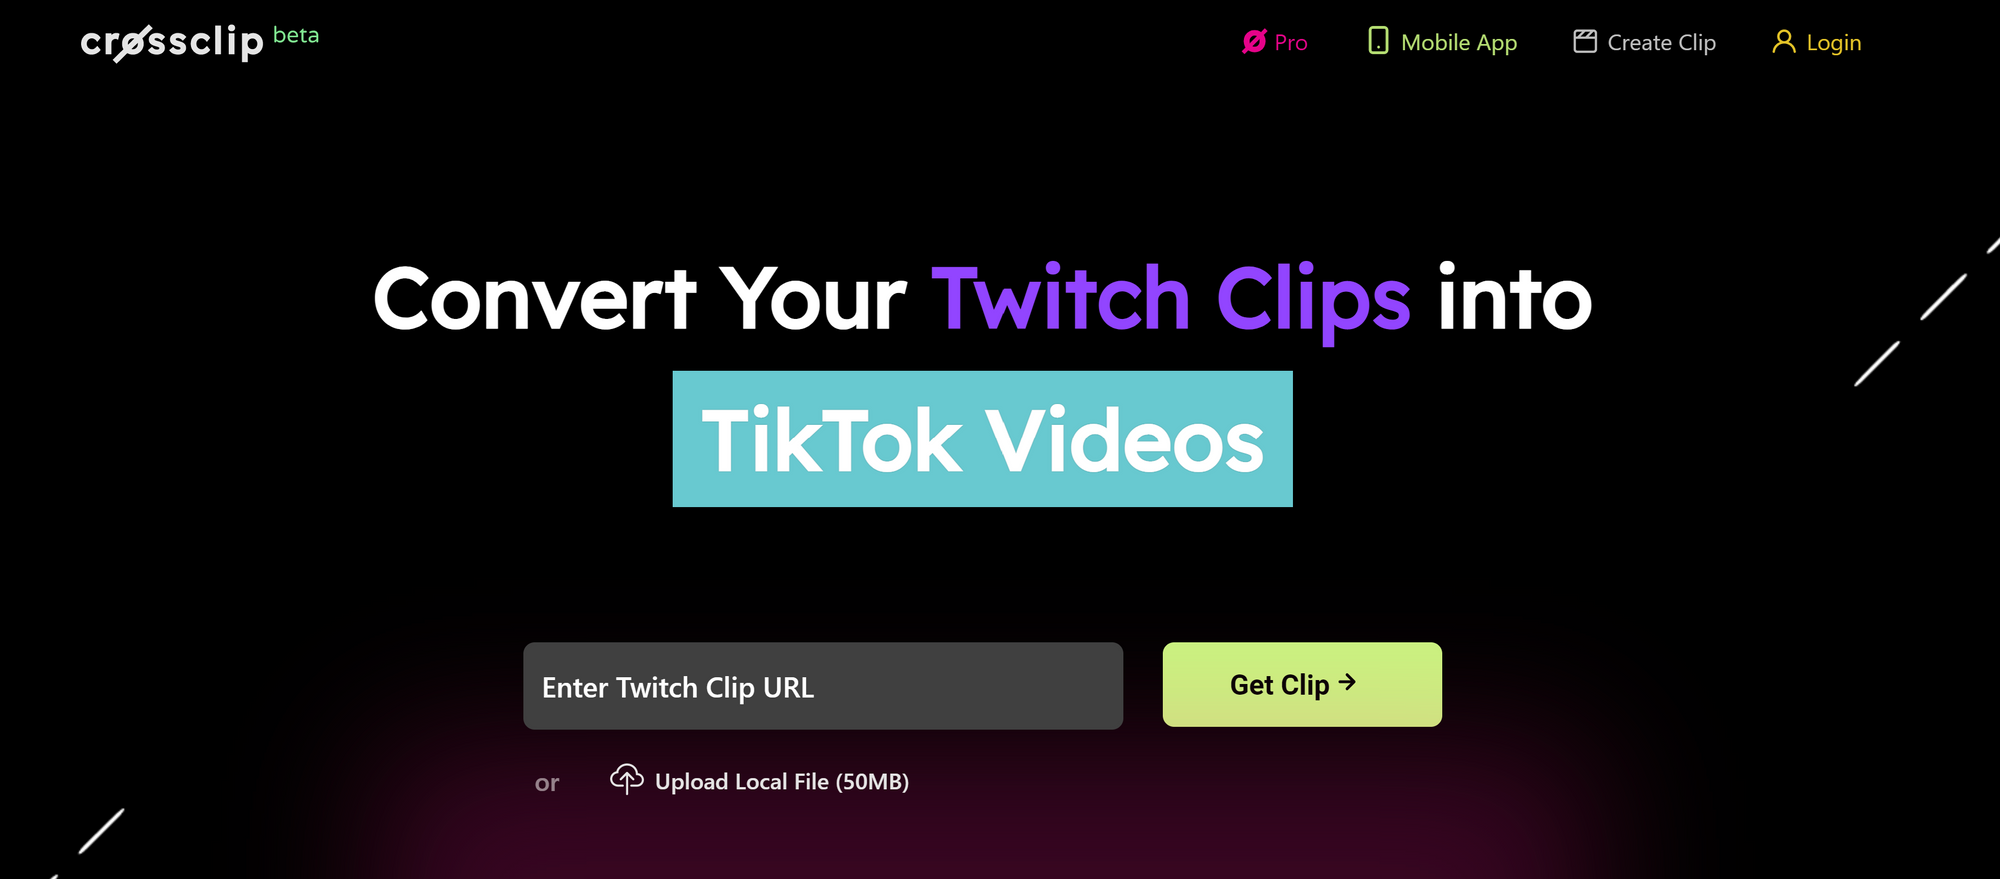
Once you've dropped in your URL, you'll be taken the editor. Brace yourselves. This is where the magic happens.
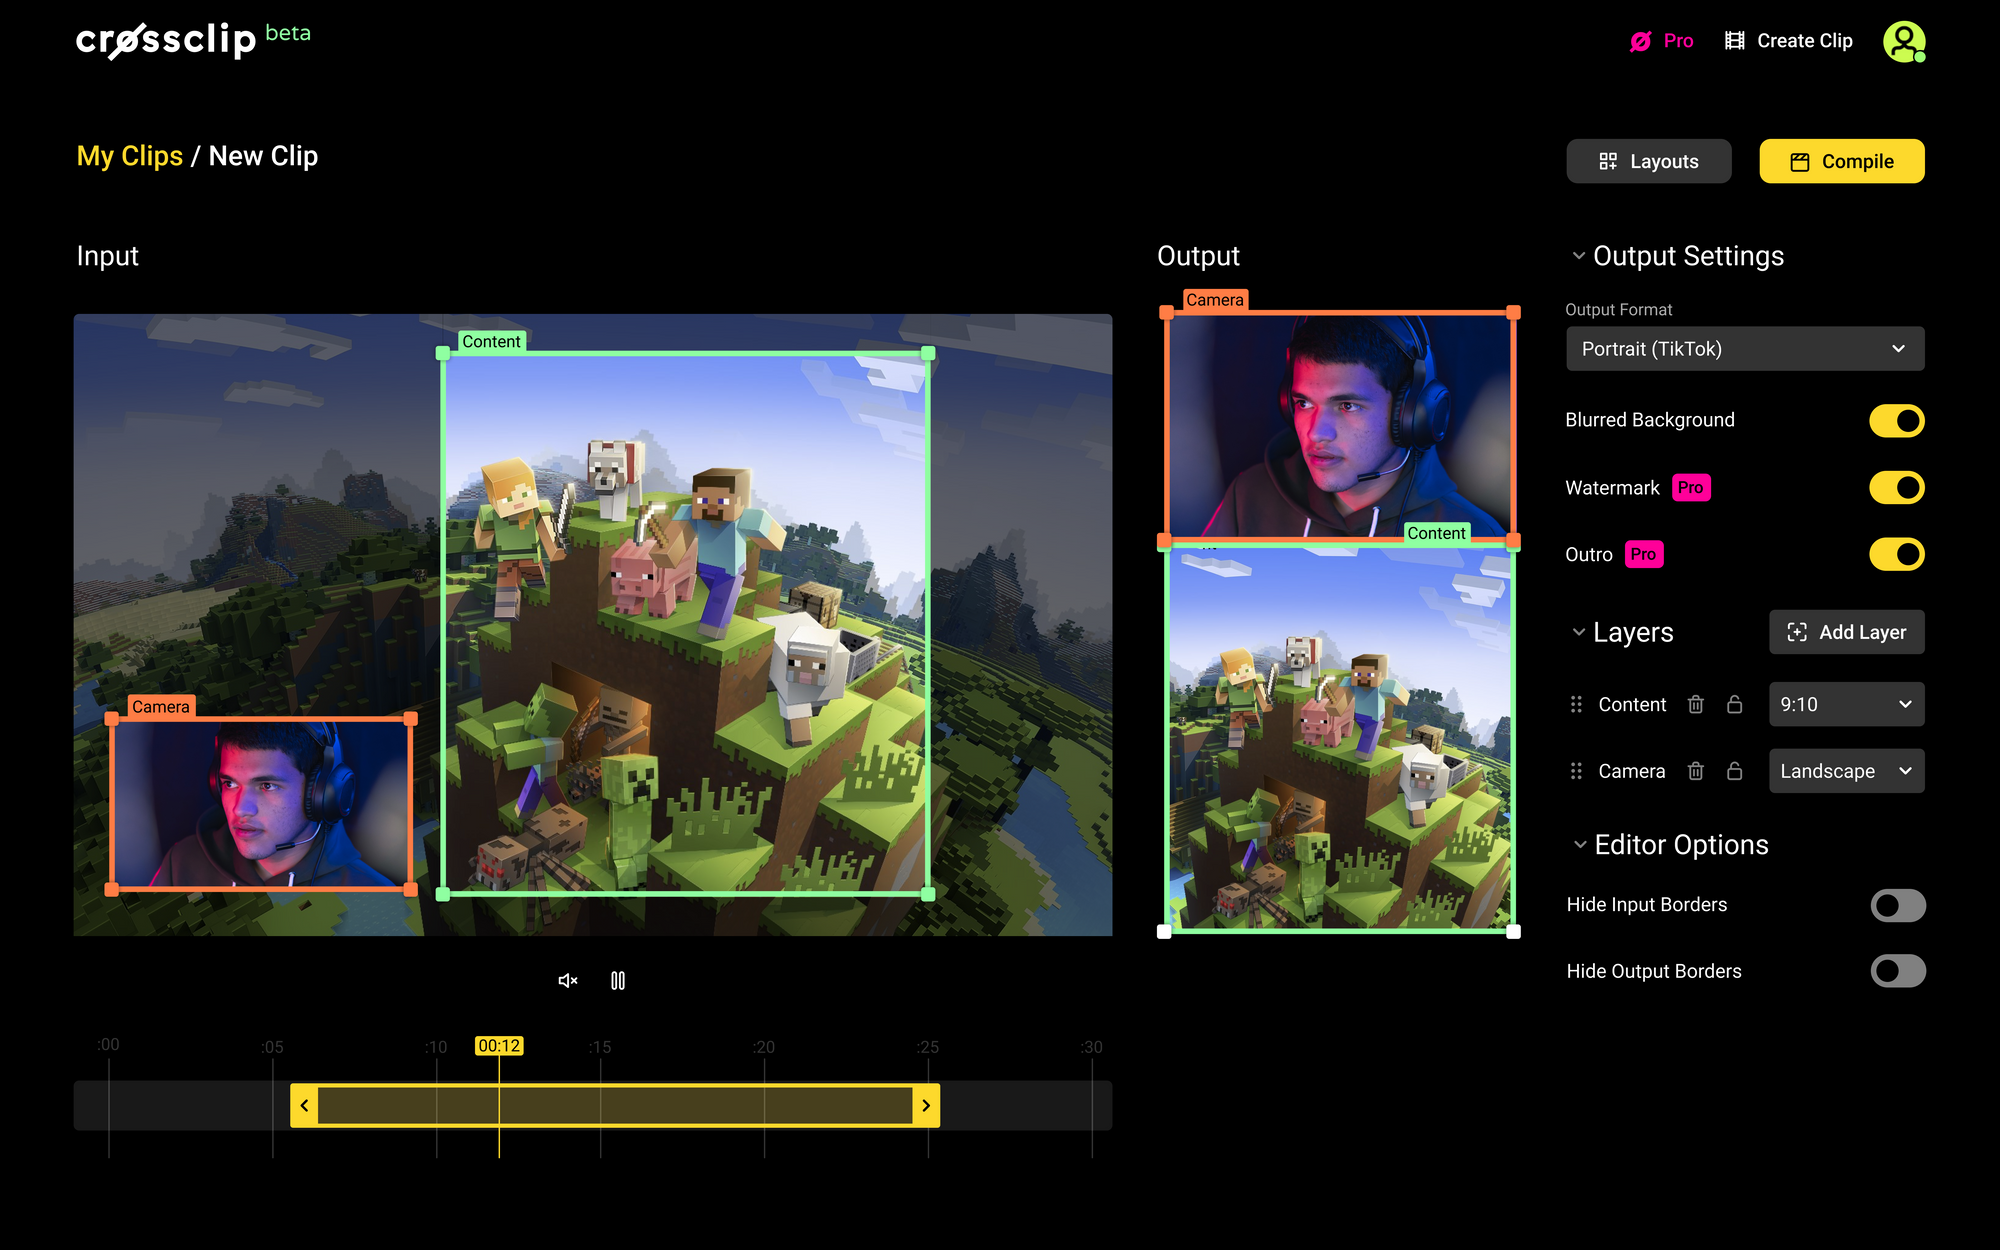
Next, click the 'Layouts' button next to 'Compile' and you'll see a dropdown with several options.
Browse Layouts
Click 'Browse layouts' from the dropdown, and a modal will popup with three templates that are popular among streamers, 'Portrait Split,' 'Portrait Crop,' and 'Full Blur.'
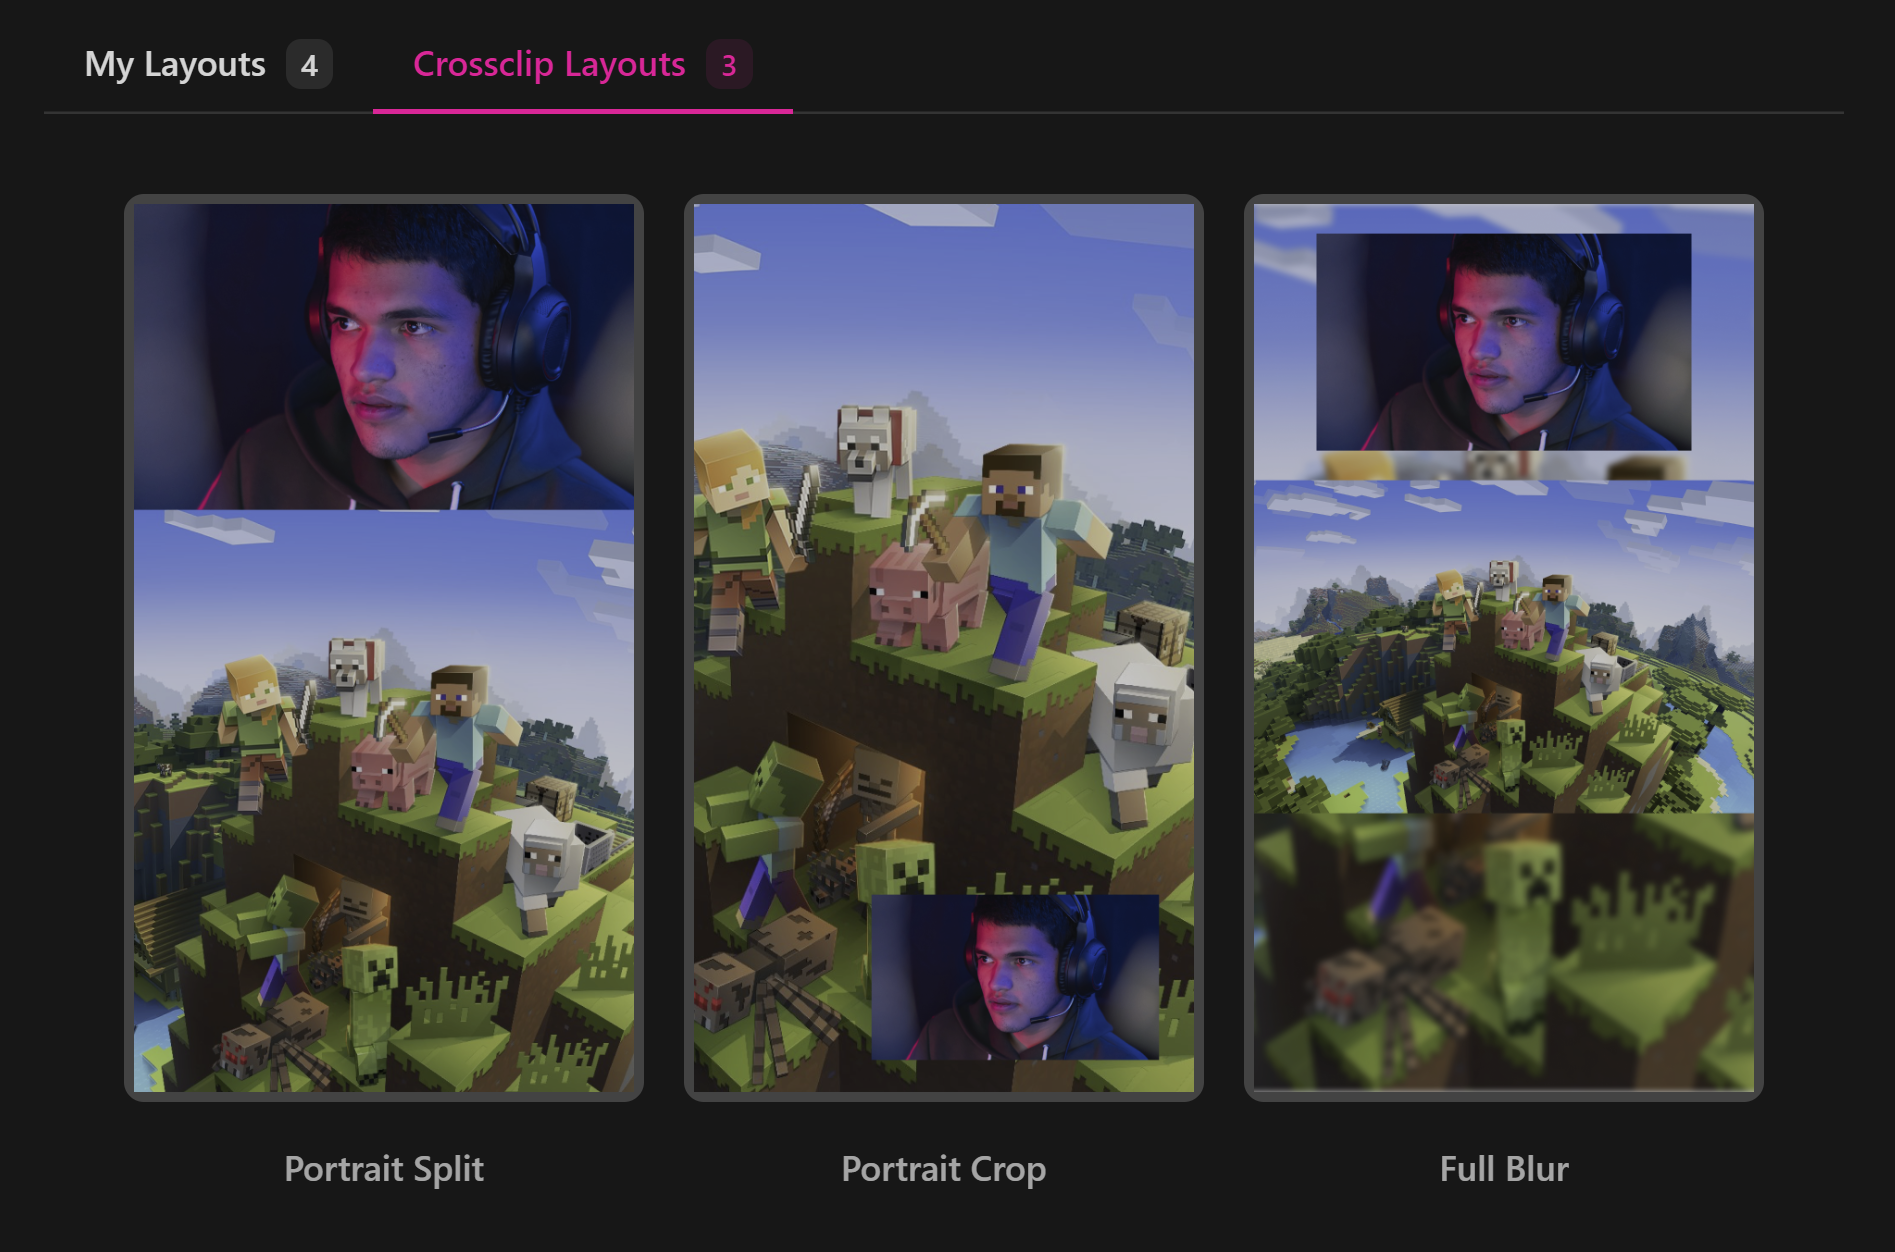
Of course, you could create these layouts yourself by adding or removing blur, choosing portrait from the 'Output Format' dropdown on the editor, and resizing the regions to your desirable location. However, loading a preset from this menu accomplishes the same task in a matter of seconds.
If, however, you have your camera in the same location on every clip, you want to to use a template that has more layers than just two, or if you want to customize these templates in any other way, Cross Clip also allows you to save custom layouts.
Custom Layouts
In order to save a custom layout, the first thing you'll need to do is arrange the editor in the way you would like to appear every time. For example, if your camera is in the top left, drag the region over you camera. If you want to export as square instead of portrait, select it from the 'Output Format' dropdown. Or, if you'd like to add or remove additional layers, add or remove the watermark or outro, or adjust the blur on your output video, change those settings now.
When you're happy with your editor settings and your content regions are arranged (chef's kiss) perfectly, click 'Save as new layout...' from the 'Layouts' dropdown.
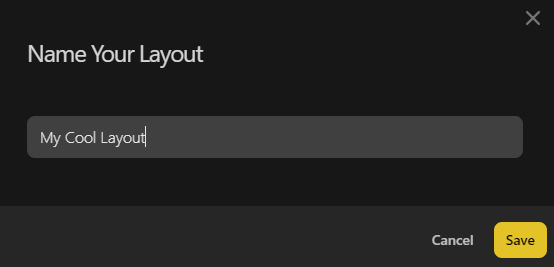
I know, I come up with great titles. It's a gift. And sometimes a curse.
Load Layouts
Now that you've successfully saved your custom layout, let's learn how to load it. The same as before, click 'Browse Layouts' from the 'Layouts' dropdown, only this time, navigate to the other tab labelled 'My Layouts.' Here, you'll find a list of all the custom layouts you've ever created, their title, and some descriptive information to help you remember which is which.
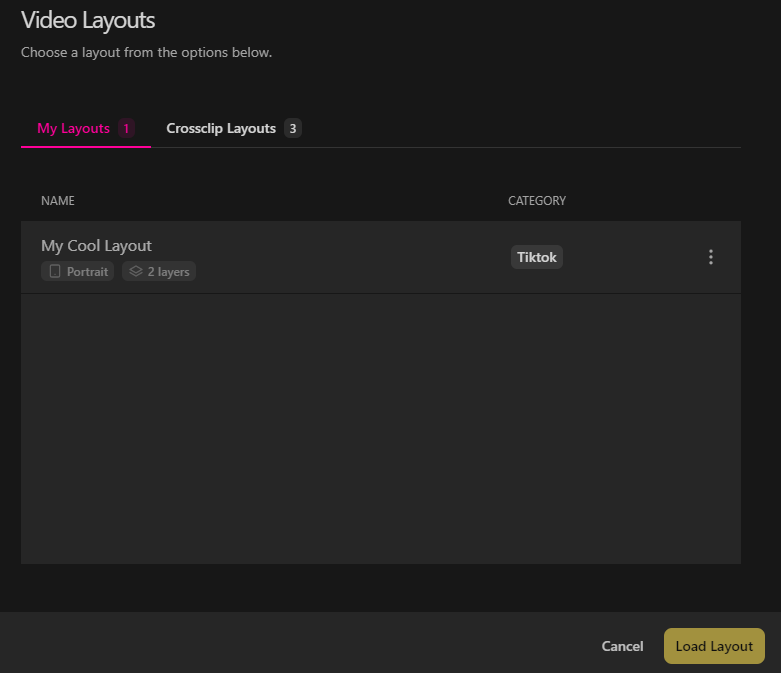
In this example, 'Portrait' refers to the output format I selected, which is why the category name is TikTok. 2 layers is there to remind me that I had two content layers on the canvas when I created this layout.
If you've made a mistake saving a layout, never fear! Simply update your editor settings, select 'Save layout' from the 'Layout' dropdown, and it will override whatever custom layout you're currently working on.
Conclusion
I hope you found this article on how to save custom layouts with Cross Clip helpful. Instead of arranging content regions on the editor every time you import a new clip, all you have to do is load a layout you've already made, click 'Compile,' and you're done!
For more information on sharing your clips, check out our guide on how to upload to TikTok. And if you'd like to combine multiple clips into one, check out this new article on Cross Clip Montages.
Happy clipping!