One of the most effective ways to grow your Twitch channel is to post your highlights across multiple platforms (review how to grow your following if you need a refresher). Twitch clips provide an excellent medium to get highlights from your stream. Either you or your viewers can create clips, and clips that they create from your stream are easily accessible in your settings. Check out our guide on how to create a Twitch clip.
The trouble is, Twitch clips need to be converted and require editing beforehand, particularly if you want to post your content to a mobile-first platform like TikTok, Instagram, or Twitter. In this article, we'll show you how to get your clips onto those platforms without the need to even download them.
I know. Revolutionary.
How to clip on Twitch
In order to get a Twitch clip onto other platforms, you first need to create a clip. As a refresher, any livestream on Twitch has a clip button in the bottom right. Alternatively, use the ALT + X hotkey.
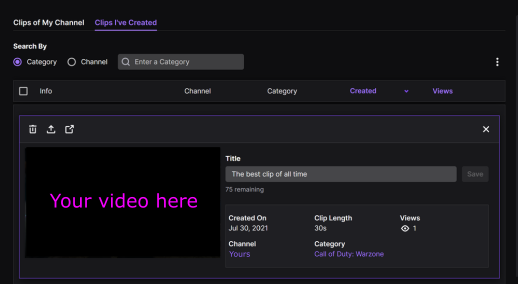
Once your clip is created, navigate to your creator dashboard on Twitch. From the page's left navigation, click Content, then Clips. There are two options on this page – clips you have created, and clips created of your channel. Here's an example of what it looks like:

To get started, click the share icon next to the garbage can (be. careful.) and copy your Twitch clip URL.
Getting clips into Cross Clip
Next, head to Cross Clip and paste in the URL. This is where the magic happens.
If you're looking for a simple video converter, there isn't much to do. Select 'Landscape (YouTube)' from the Output Options dropdown and make sure you have only one layer that takes up the entire video. When you compile your clip, it will have the same aspect ratio as your input, and you'll be able to download the clip as an MP4 or share it directly via our mobile app.
If, however, you'd like to collect the infinity stones, put on the gauntlet that is Cross Clip, and snap away all the time you waste in complicated video editing software, read on.
While Cross Clip enables users to access their Twitch clips, the real power of the tool is in converting horizontal streams to portrait videos for use on mobile platforms like TikTok and Instagram. When you import a clip, you'll have two sources added to your Input by default, they're titled 'Content' and 'Camera.' Drag/resize those sources to highlight the most important parts of your clip and zoom in on the action. If you have more that you need to highlight, like chat, your health bar, viewer count, etc., more layers are available with the Cross Clip Pro plan.
Layers can be added on top of one another, rearranged by clicking and dragging on the right side panel, and their aspect ratios can be altered for your specific use case. If you want a preview of what your video will look like, toggle off 'Show Output Borders' so there is nothing overlayed on your screen.
Additionally, one of the most helpful features of Cross Clip is, wait for it, clipping. At the bottom of the screen is a yellow slider that can be dragged around to highlight specific portions of the video. Click and drag an edge to trim.

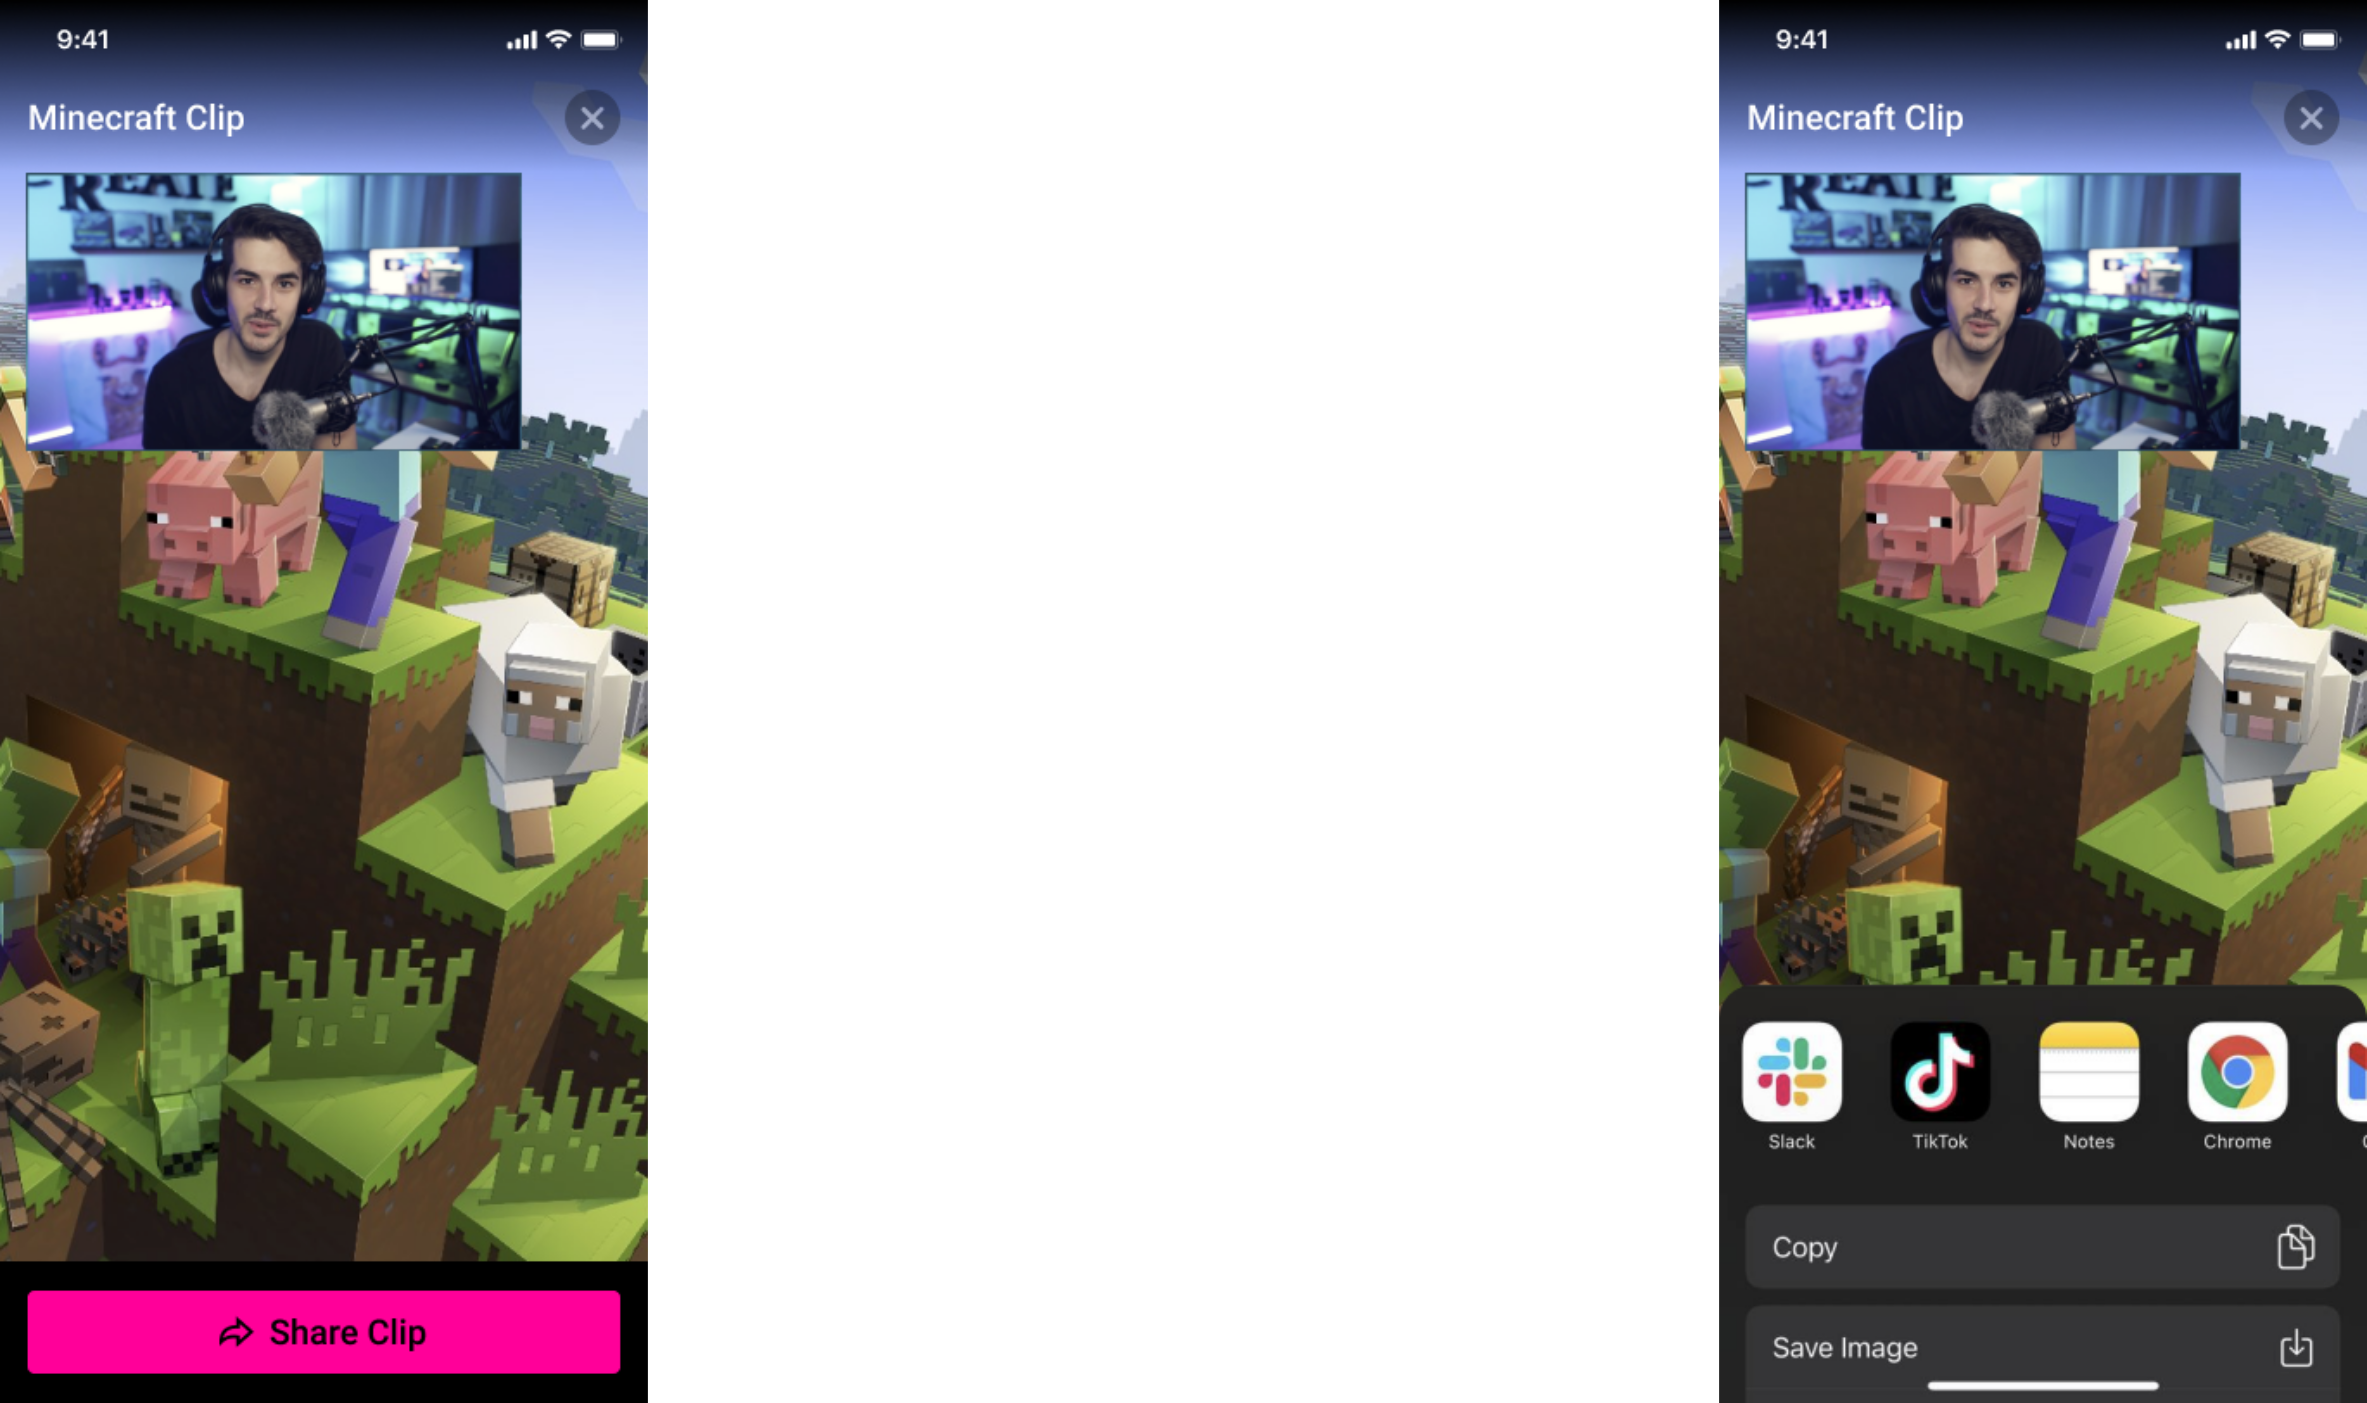
Lastly, one of the most convenient features of Cross Clip is the ability to share directly to socials. Most people downloading Twitch clips do so to get their clips into editing software and then reupload their footage to various platforms. With Cross Clip, you can do all those things without leaving the tool. To get your clip on mobile, simply download the Cross Clip Mobile app on iOS and here if you're on Android. Compiled clips automatically appear in the apps.

I hope you've found this tutorial useful. Whether you want your Twitch clip to share across socials or only to download, Cross Clip is the tool for you.
Happy clipping!