In this article, you will learn how to easily correct transcription mistakes in Streamlabs Podcast Editor. The only thing you need is your video and an internet connection. No download required.
Upload your video
After logging in, you will see the dashboard or project overview. To upload a new video click on the map in the upper left area, marked with a plus sign. Now you can drag a video into the window or select one from your files.

Transcription
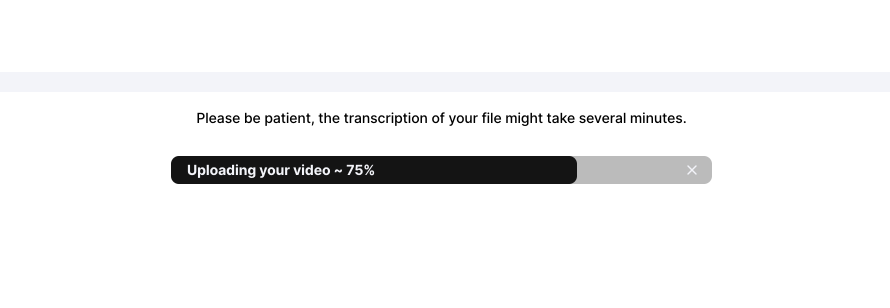
Now the automatic transcription of your video starts. This step may take a few minutes. Depending on how large and how long your video file is. Please don't close your browser tab while we are transcribing.

Text Correction mode
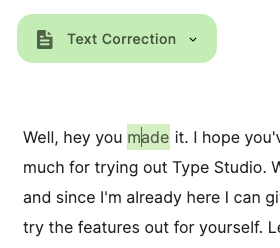
If you want to make changes in the transcribed text that will affect the subtitles of your video, you need to select the "text correction" mode. Just above the text, there are two modes, "video editing" and "text correction," that you can choose between. There you have to select the "text correction" mode. You can see if you are in the correct mode if the color in the text correction is set to green.

Correct words
To correct a word, click on the word and make your change.

Add words
If you want to add a new word to be displayed in the subtitles, click on the previous word and add your new word after a blank line.

Pro Tips
1. Double-click a word in the "video editing" mode to switch to the text correction mode.
2. Use left and right arrows to faster navigate through the words.
3. Hold the alt/option to jump word-wise through the words.