The End Credits widget from Streamlabs is a stylish way to thank your community. Whether it's new followers, tippers, subs or mods-this widget rolls all that support into one final moment of recognition before your stream ends. Think of it as your stream's closing scene, where every supporter gets a shoutout.
You can run the widget live from your Streamlabs Dashboard or set it up in Streamlabs Desktop to roll at the end of your stream automatically or manually. Here's how to get started.
Jump Ahead:
- What Is the End Credits Widget?
- How to Set up End Credits in Streamlabs Dashboard
- How to Set up End Credits in Streamlabs Desktop
- How to Set up End Credits Widget in OBS Studio
What Is the End Credits Widget?

The End Credits widget displays a scrolling list of everyone who supported your stream during that session. This includes:
- Followers
- Subscribers and Resubscribers
- Donors
- Cheers/Bits
- Moderators
- Raids
Supporters' names will appear in an animated scroll at the end of your stream, and you can style the visuals to match your stream's aesthetic.
Note: The End Credits widget only pulls data from your current stream session.
How to Set up End Credits in Streamlabs Dashboard
Step 1: Log into your Streamlabs Dashboard, click All Widgets in the left-hand menu, and select End Credits. You can also click here to go straight to the End Credits settings page.
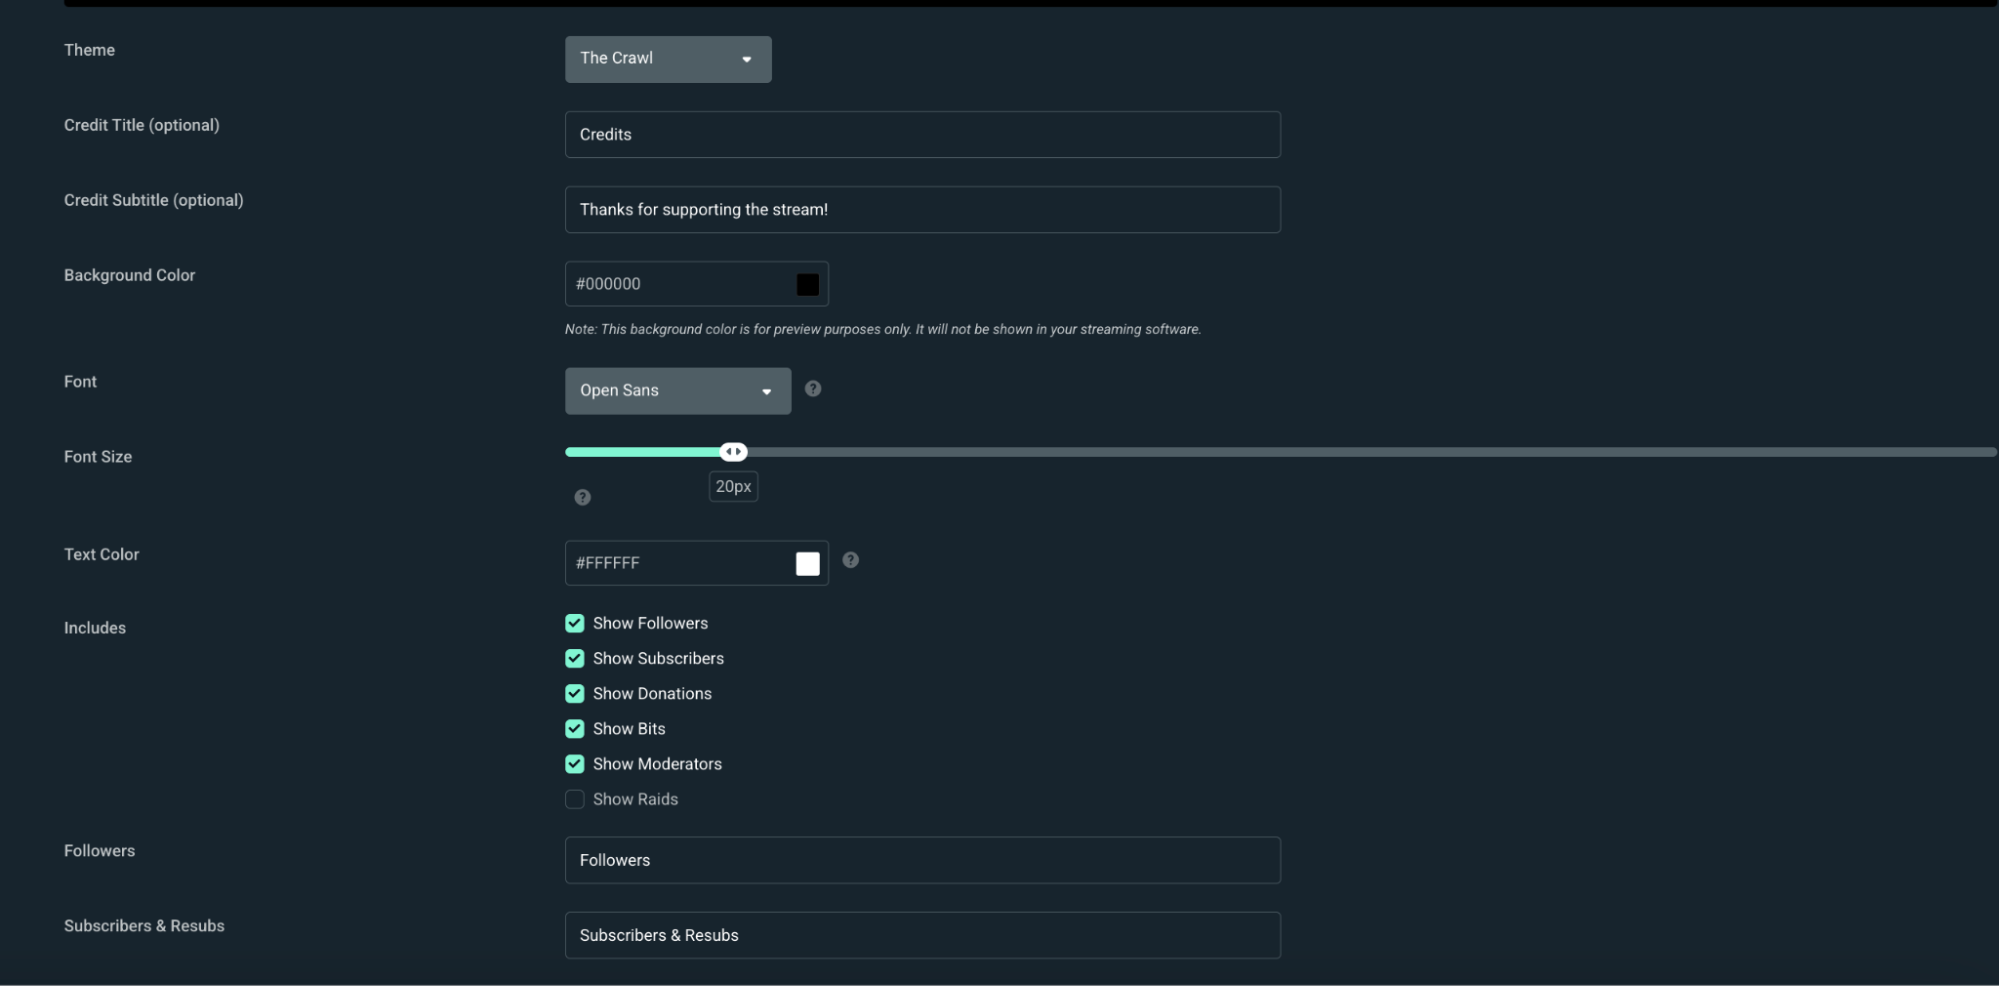
Step 2: Choose a theme for your credits animation. There are unique layouts and scrolling styles, and you'll see a preview of each after selecting.

Step 3: Customize the credit display with a title and subtitle, like "Thanks for supporting the stream!" Then, adjust your font, font size, and text color. You can also pick a background color, though note this is just for preview purposes-your live scene will remain transparent.

Step 4: Under the Includes section, choose which events to feature. You can toggle support for:
- Followers
- Subscribers
- Donations
- Cheers (Bits)
- Moderators
- Raids

You can also rename how each category is labeled in the credits (e.g., calling donors "Supporters" or changing "Bits" to "Cheers").
Step 5: Scroll down to the animation settings to fine-tune the timing. You can adjust the delay time (before the scroll starts), roll speed, roll time, and whether you'd like the credits to loop continuously.

Step 6: Click Save Settings, then copy your Widget URL. You can paste this into any streaming software that supports browser sources (like OBS Studio or XSplit.) If you're using Streamlabs Desktop, you can move to the below section to learn how to add it directly into the application.
Tip: This widget will only show data from your current live session.
How to Set up End Credits in Streamlabs Desktop
Step 1: Open Streamlabs Desktop, then click the add + button in the Sources panel.

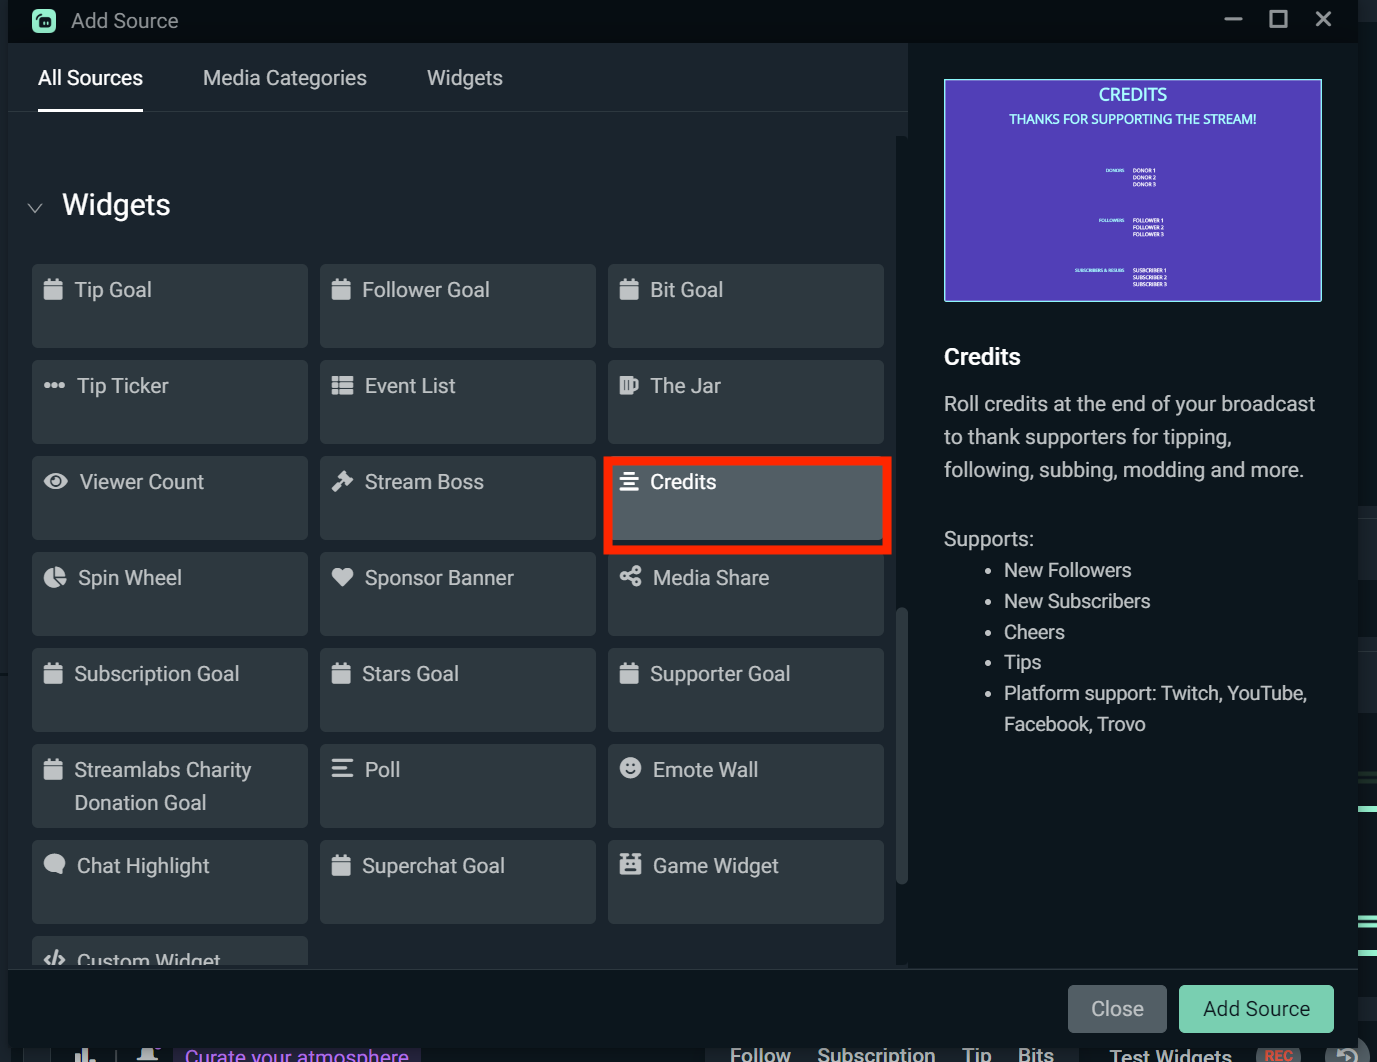
Step 2: Select Credits from the widget list and click Add Source.

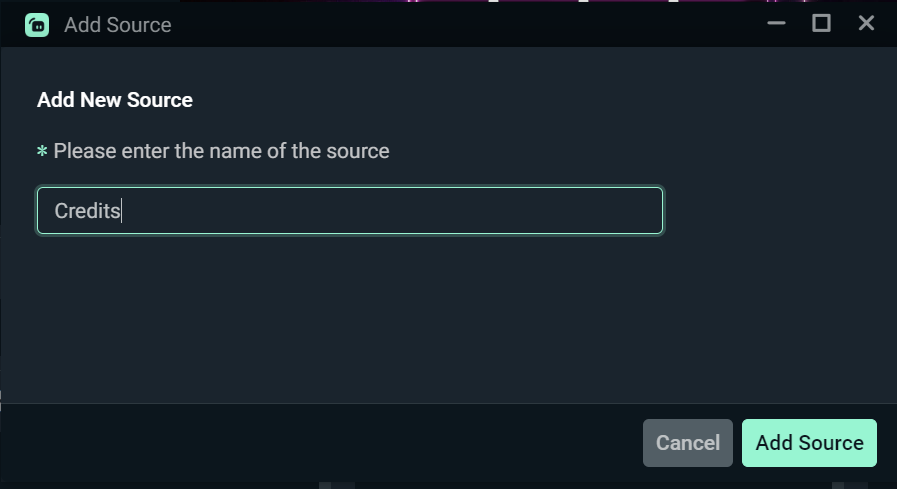
Step 3: Name your source (or keep the default) and click Add Source again to place it in your scene.

Step 4: If you previously customized the widget in the Streamlabs Dashboard, your settings will carry over automatically. If not, you can fully customize it within the app.
Step 5: Under the Manage Credits tab, you'll see all the credit categories that appear in the widget-like Donors, Followers, Subscribers & Resubs, Cheers, Moderators, Members, etc.

You can relabel each of these fields to better fit your brand tone or community vibe. For example, change "Subscribers" to "VIP Members".
Step 6: Use the Visual Settings tab to change the text color, enable looping, adjust scroll timing, and manage delay timing.

Step 7: Under the Source tab, you can control advanced properties like enabling custom CSS or shutting down the source when it's not visible.

Step 8: Once you're happy with your setup, click Done. You can then drag and resize the widget in your scene like any other source.

How to Set up End Credits Widget in OBS Studio
If you're using OBS Studio with the Streamlabs Plugin, you can add the End Credits widget just as easily.
Step 1: Open OBS Studio and make sure the Streamlabs Plugin for OBS is installed and you're logged in.
Step 2: In the top navigation panel, click the Streamlabs. This will take you to all settings for the Streamlabs for OBS plugin.

Step 3: From the widget list, select End Credits, then click +Add. If you need to set up or make changes to the widget, click Settings to go to your Streamlabs Dashboard.
Step 4: The End Credit widget should now show under Sources in OBS Studio. Resize and move the credits widget like any other source.
Now that your End Credits widget is set up and styled, you're ready to roll the final scene of your stream. It's a small but powerful way to spotlight your community's support and leave them with a warm thank-you.
Want to level it up even more? Combine it with widgets like The Jar, Alert Box, or Tip Ticker to make your stream feel even more polished. You can also check out this blog, which features some of the best stream widgets you aren't using (yet).