Whether you're a creator, a business, or somewhere in between, scheduling your live stream on Facebook gives your audience time to prepare and helps you promote your event ahead of time. In this guide, we’ll walk you through the steps to easily schedule a live stream on Facebook, from creating the event to setting reminders, so you can maximize your reach and engagement.
Facebook has removed the ability to stream directly to groups via third-party applications. Using a custom RTMP, you can bypass this limitation and stream to a Facebook group. You can find more information on this change implemented by Facebook here.
Why Stream to Facebook?
One of the great things about streaming to Facebook is that many people already have an existing audience on the platform. Many streamers start out broadcasting to friends and family.
While this isn’t the case for everyone, it may be worth considering if you have a large friend or family network interested in what you do already. Even broadcasting to a few people can be a great way to get your feet wet with streaming.
Secondly, Facebook has been busy improving the live streaming functionality of its platform. They recently added “Co-streaming,” which allows users to stream with one another while letting viewers choose which stream they want to view. They have also been busy taking steps to protect their creators. The platform announced that it is broadening protection for its streamers who want to use copyrighted music in the background of their live streams by including “Level Up” creators.
Among other initiatives increasing community connection, such as the launch of Streamer Fan Groups, programs like Facebook’s Black Creator Program indicate a significant investment in supporting the next generation of Black creators.
Overall, Facebook Gaming is improving its platform, and the growth experienced this quarter is evidence that the company streaming platform is heading in the right direction.
How to Connect Your Account to Talk Studio
Before scheduling a live stream on Facebook, you'll want to add your Streamin Destinations to your Talk Studio's Destinations page.
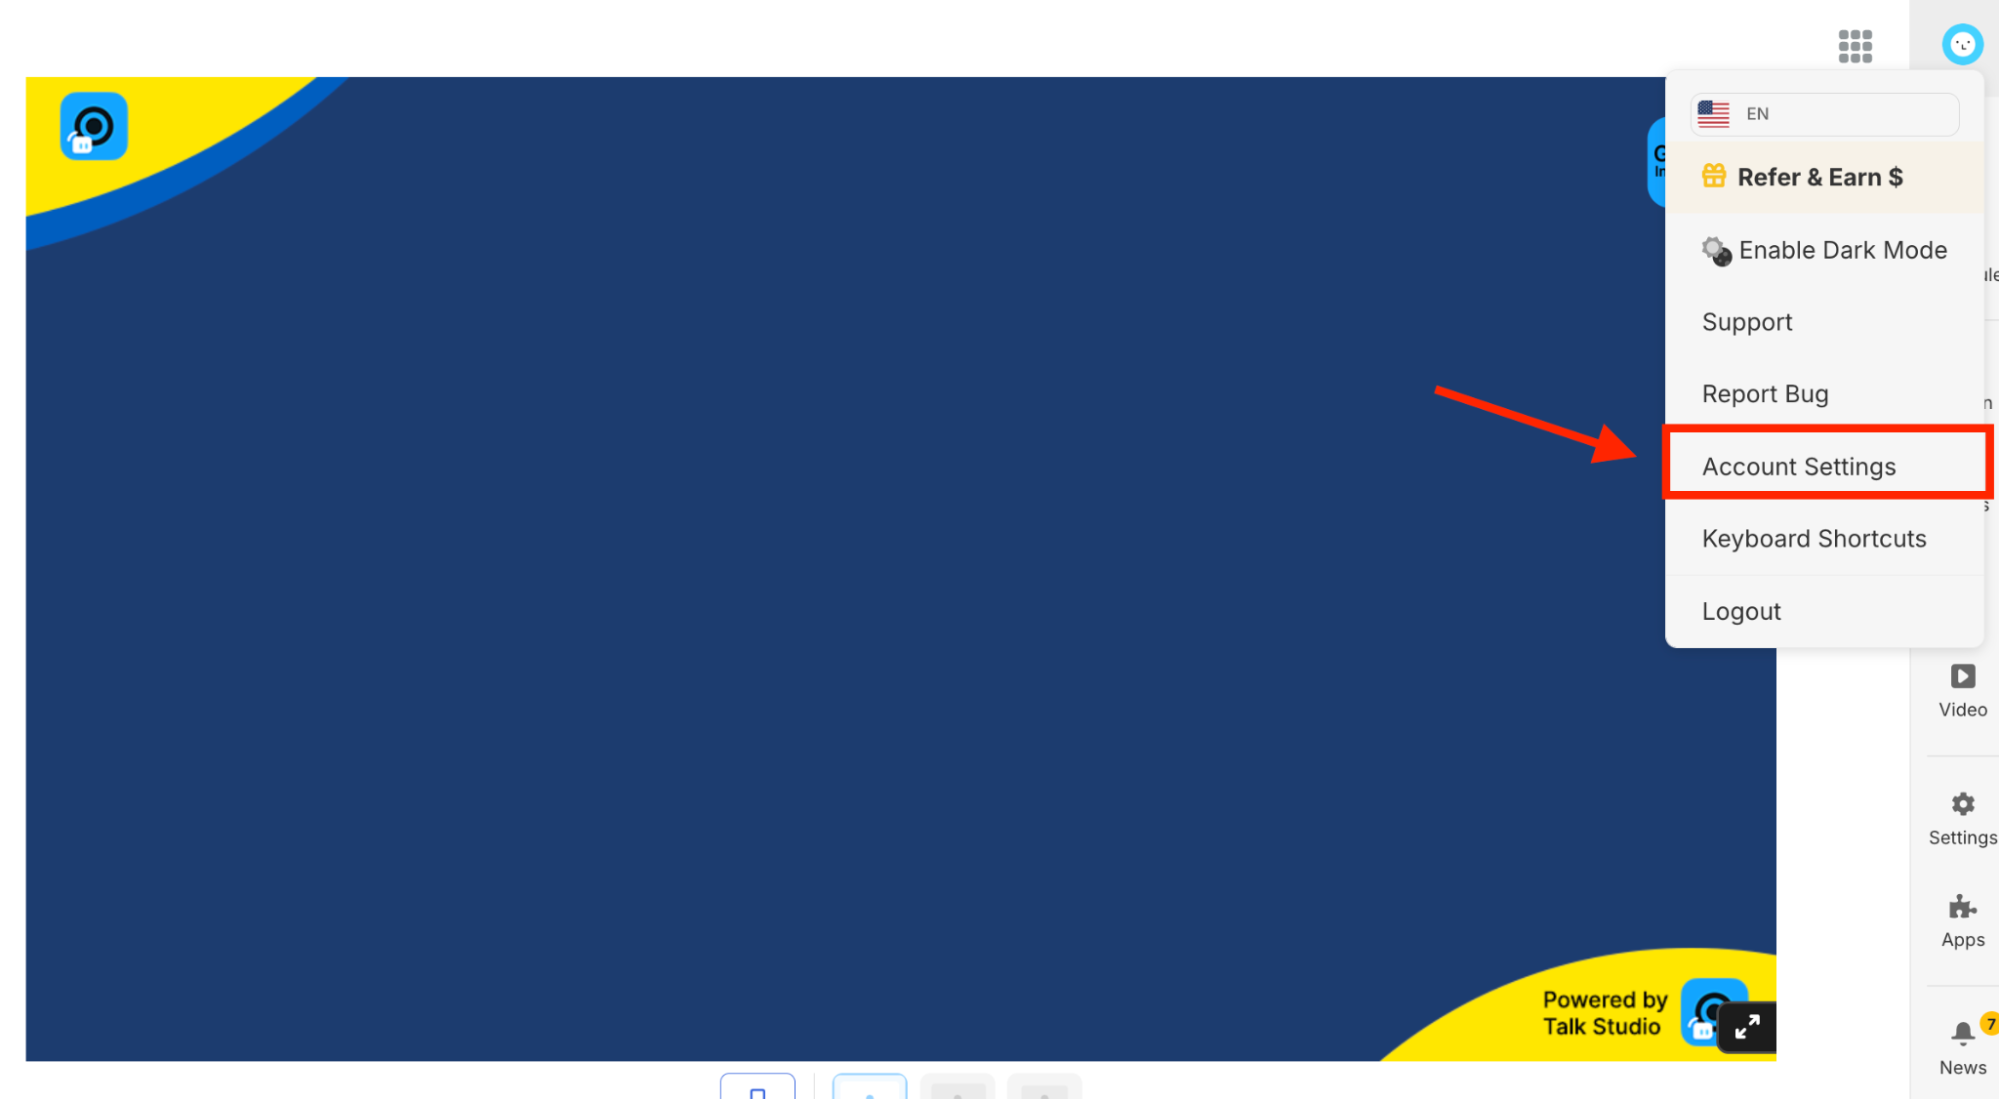
- From your Talk Studio, click your profile icon to Settings
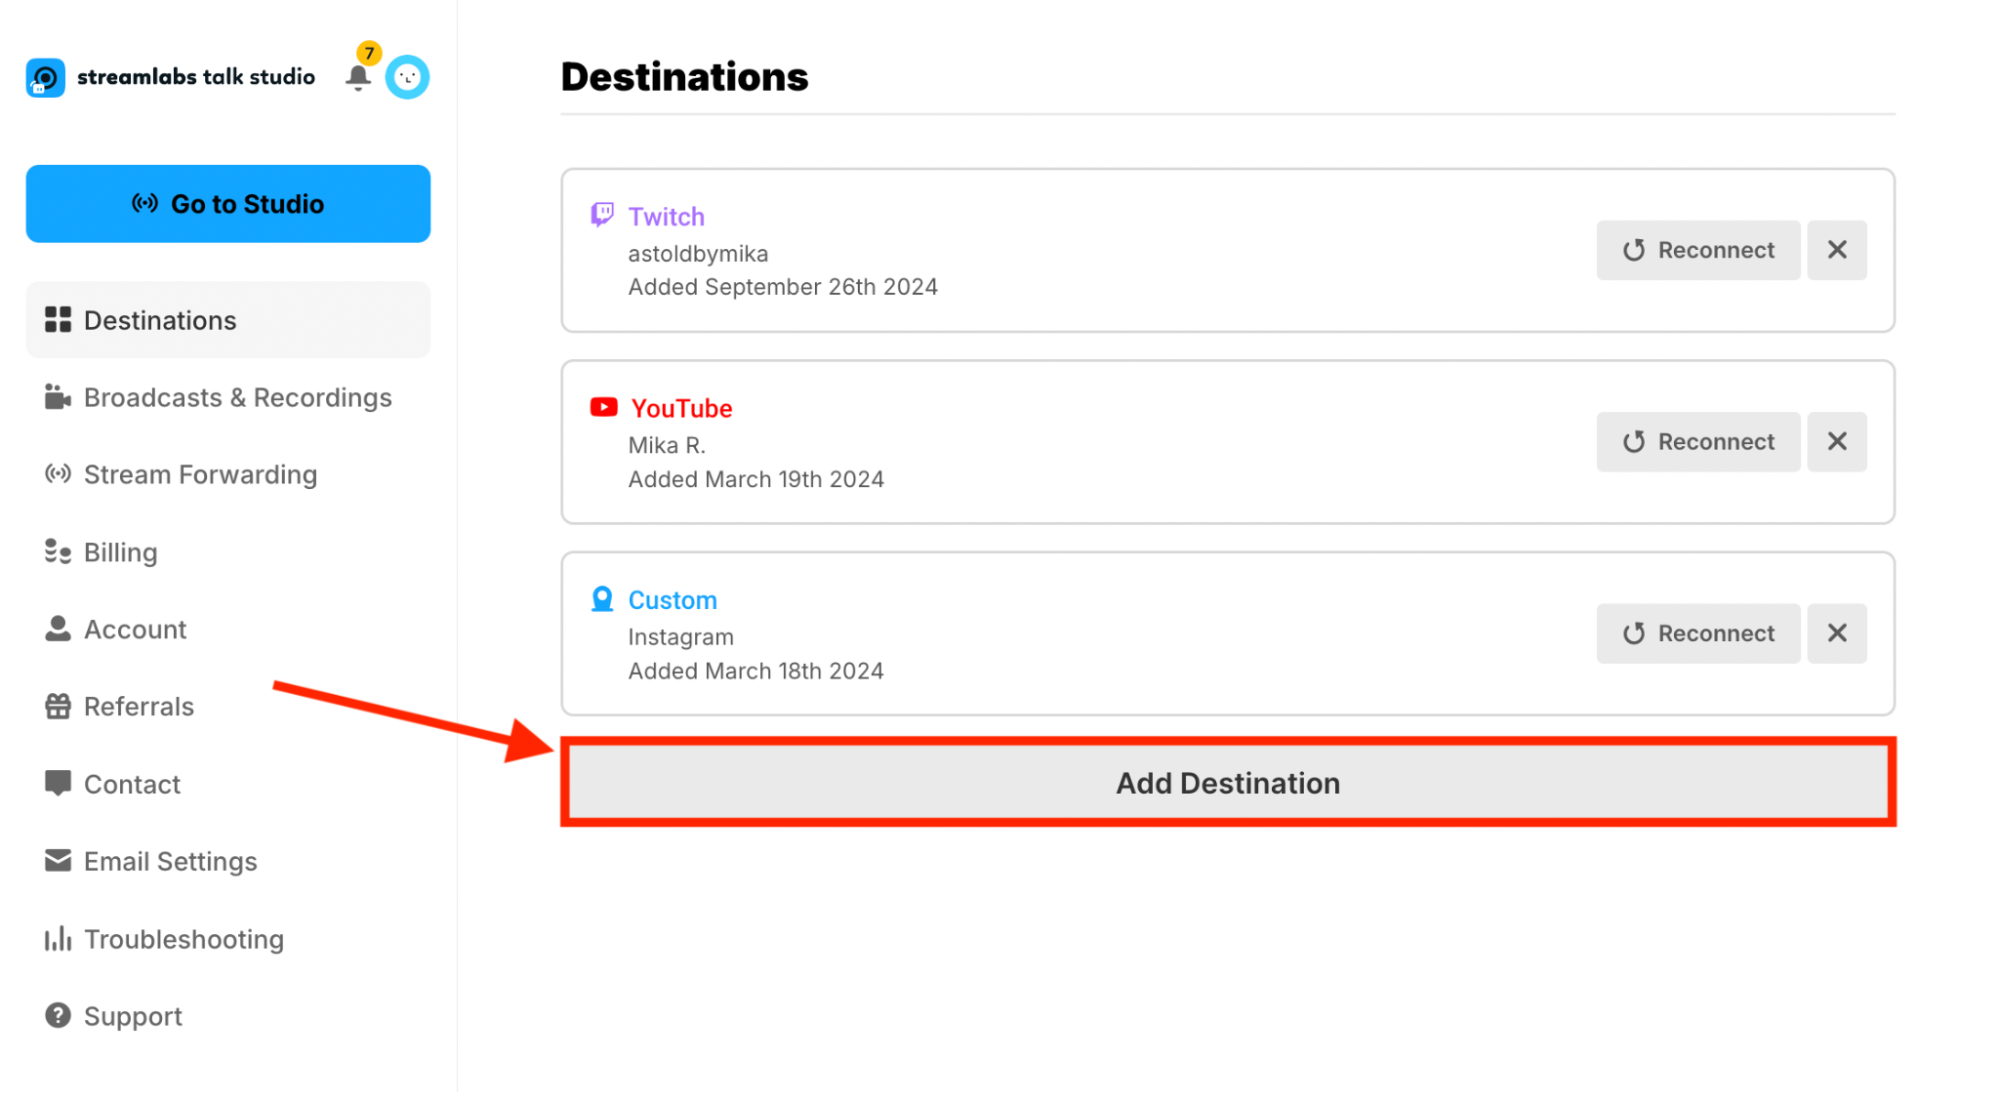
2. From your Destinations page, click Add Destination.
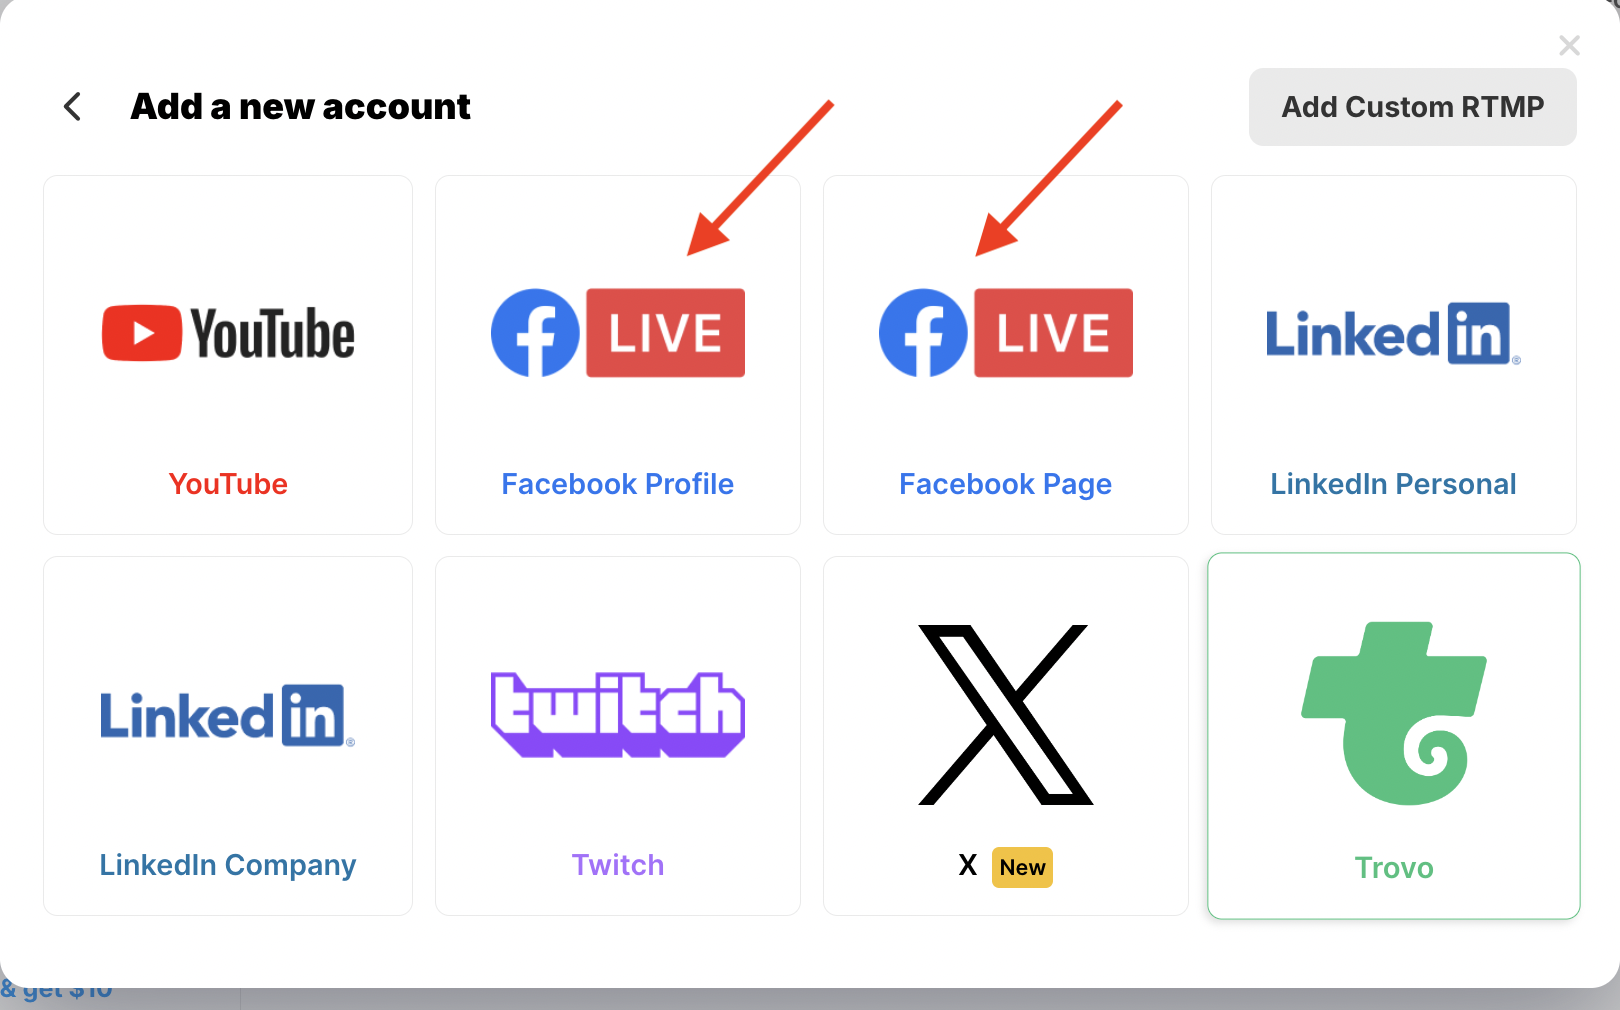
3. Add any of the below options.
How to Schedule Your Live Stream
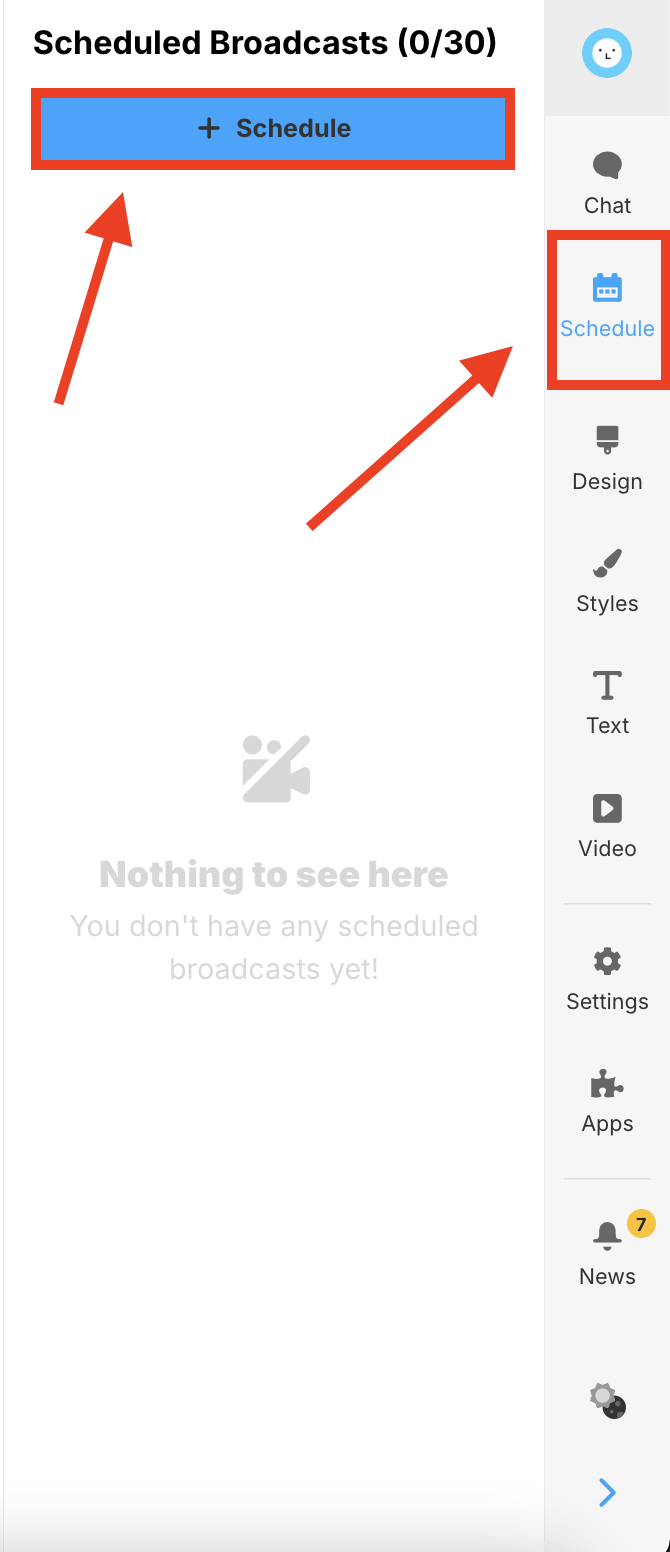
- From your Talk Studio, click the Schedule icon
2. Select the streaming destination you want to schedule a stream to.
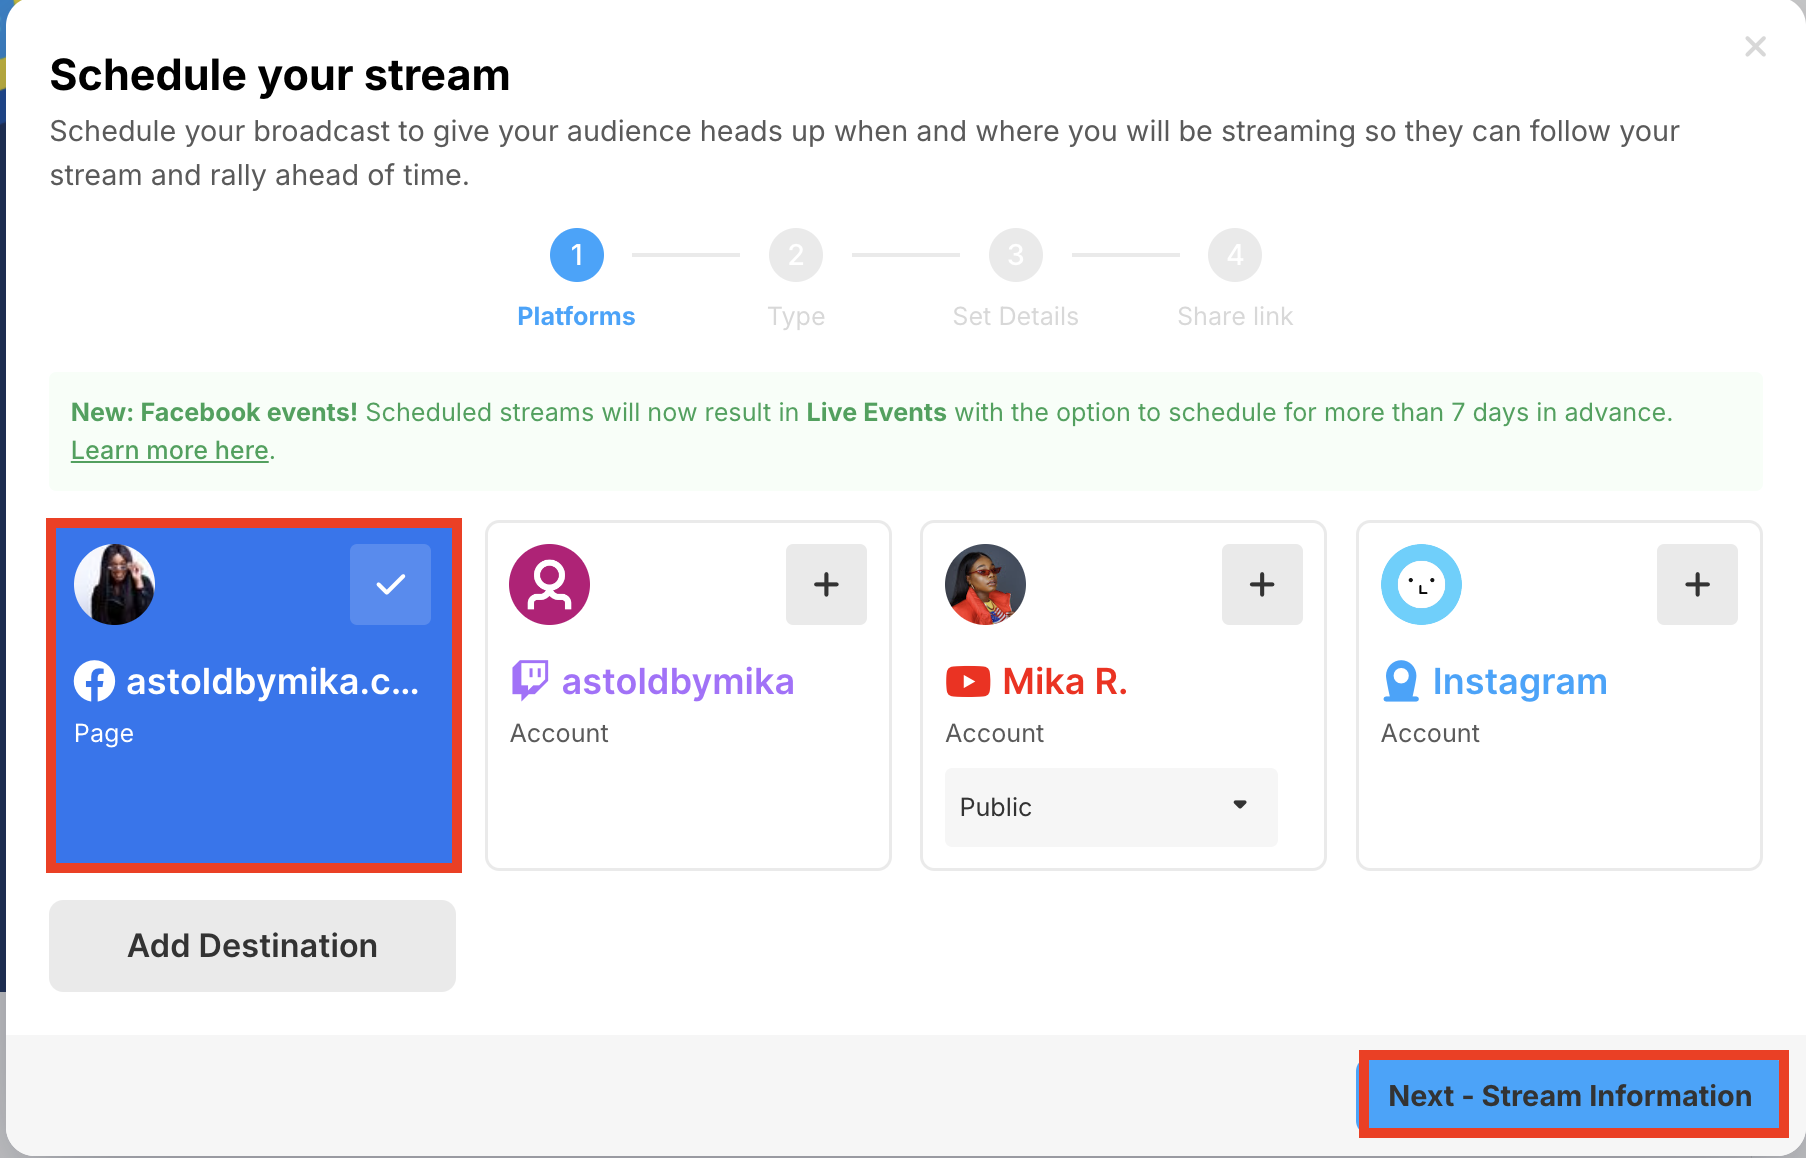
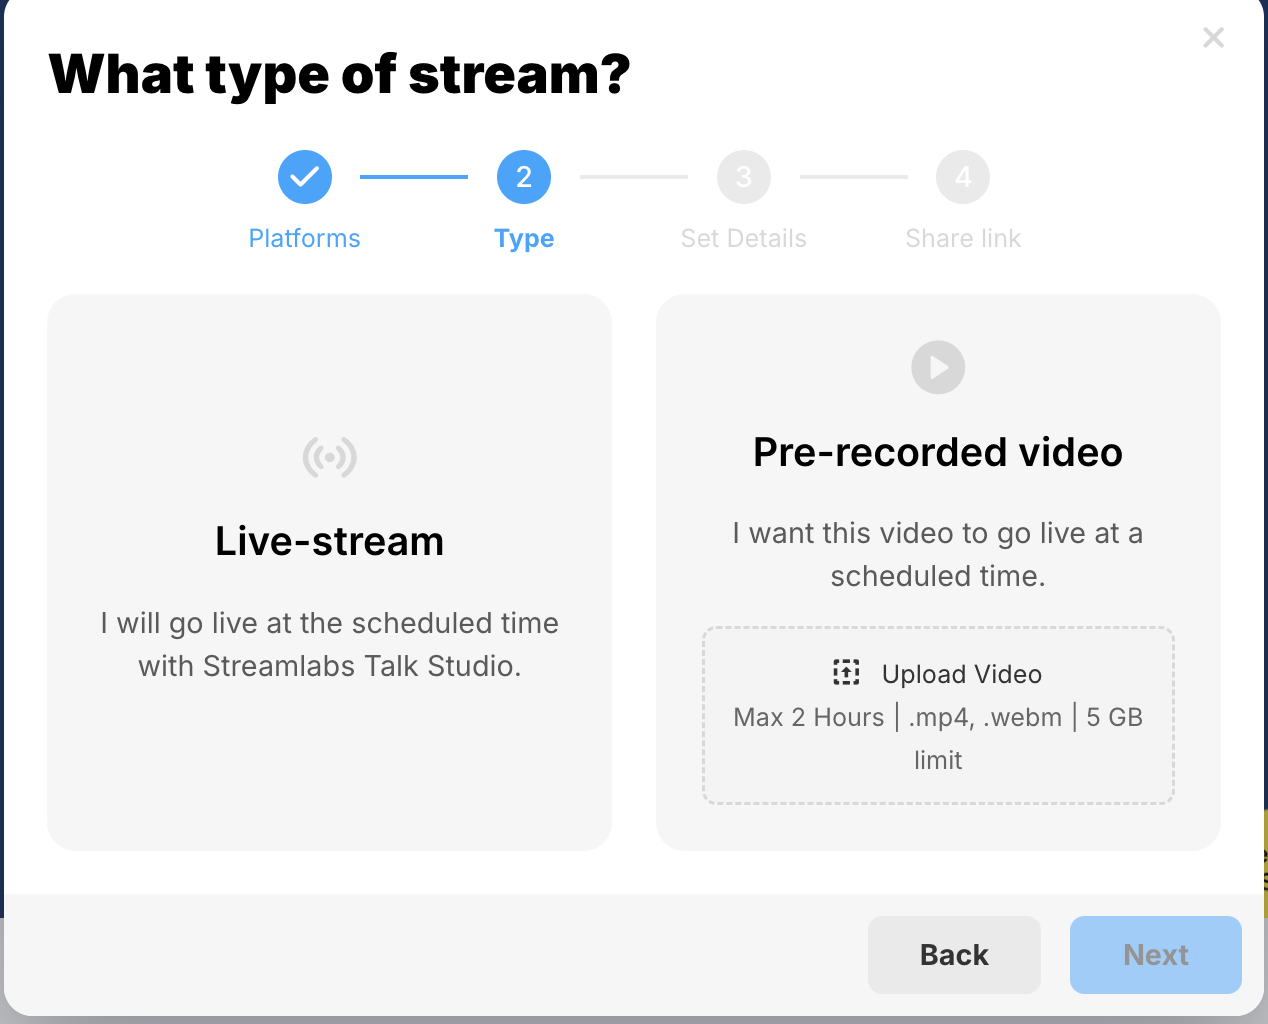
3. Select if you want to schedule a livestream or a pre-recorded video.
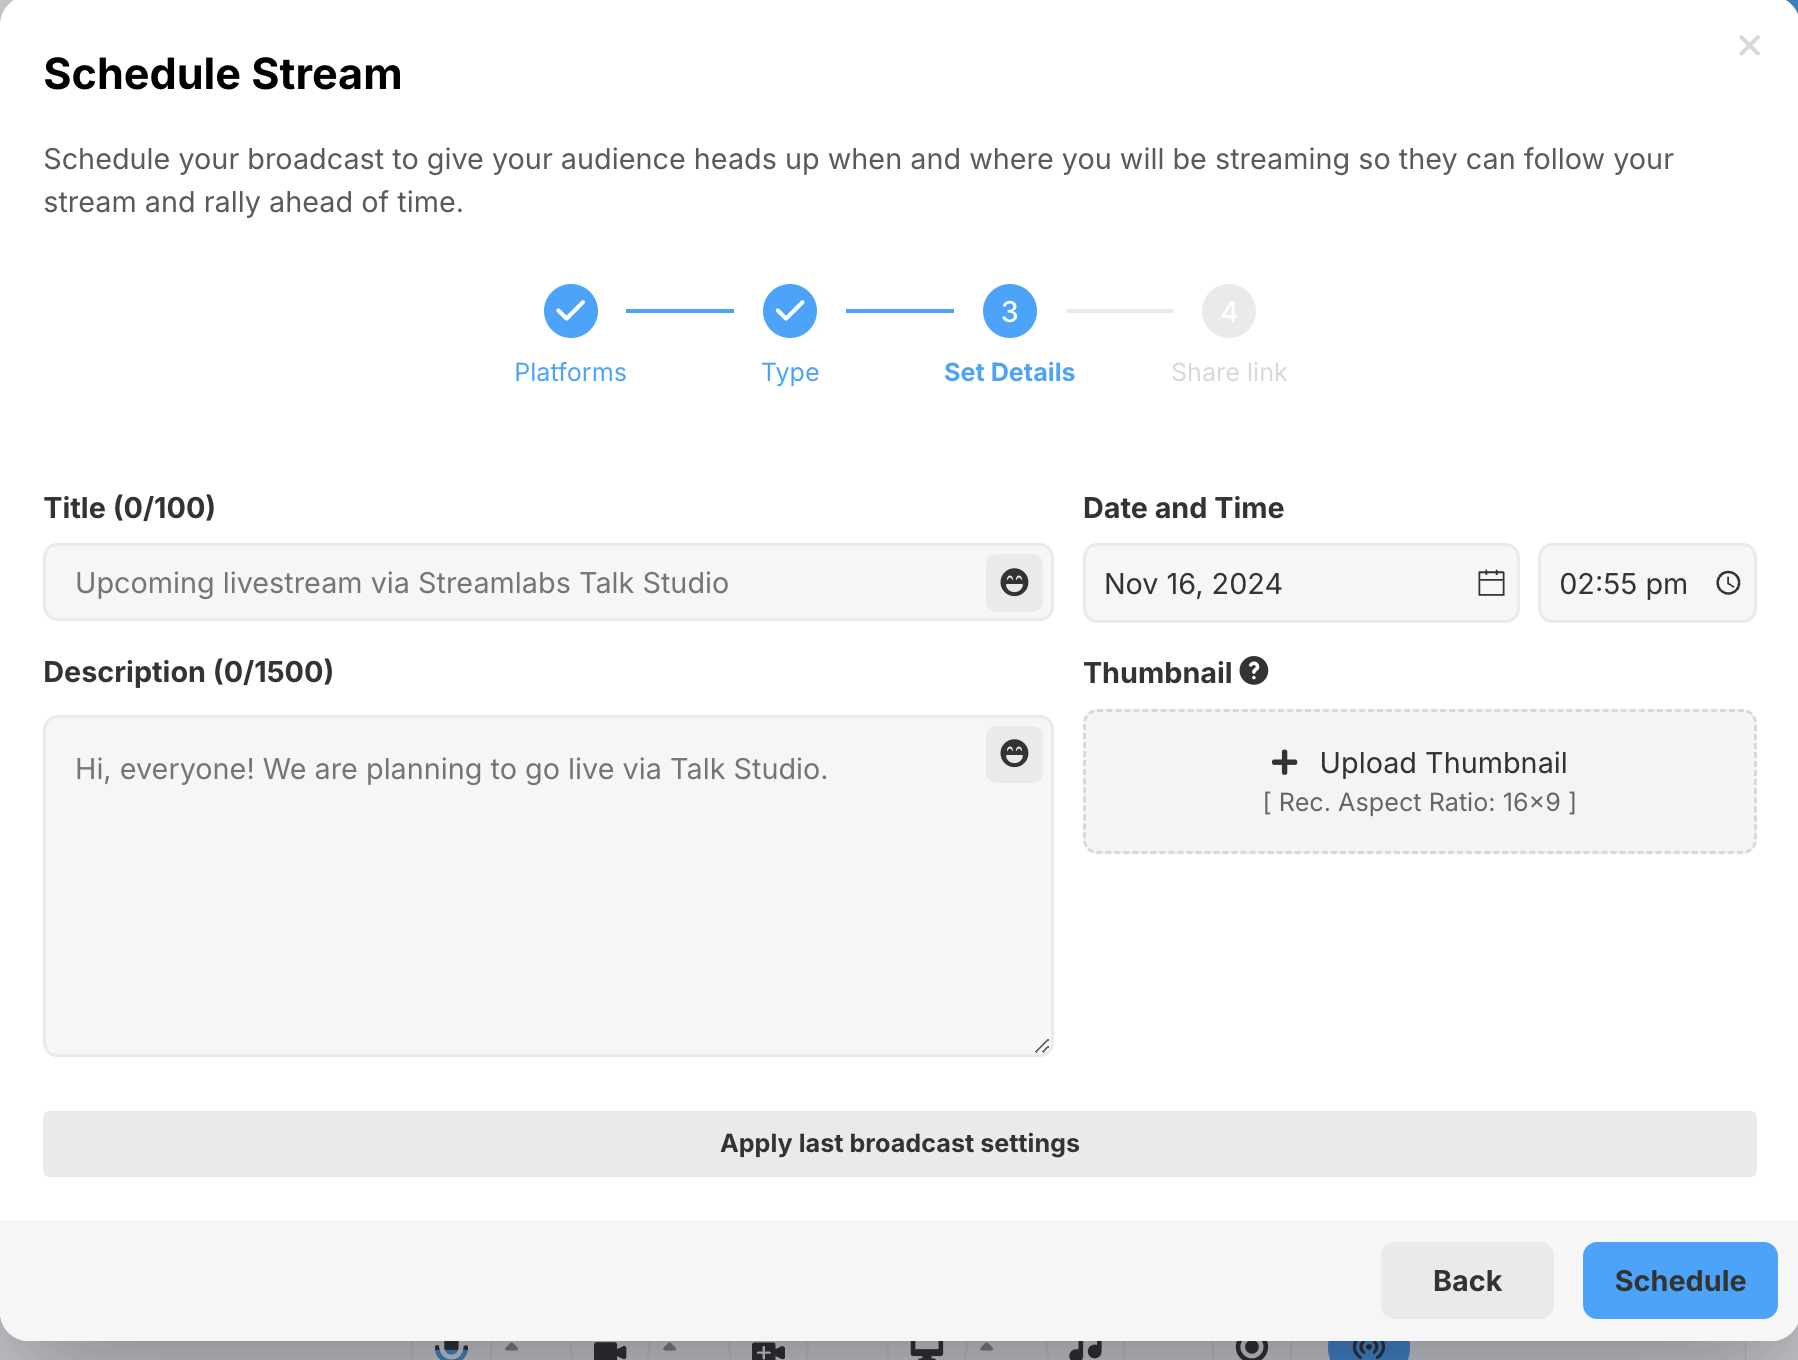
3. Input your stream information. Your scheduled stream will need to be at least 15 minutes in advance and at most 7 days out. We recommend adding a custom thumbnail for your scheduled stream.
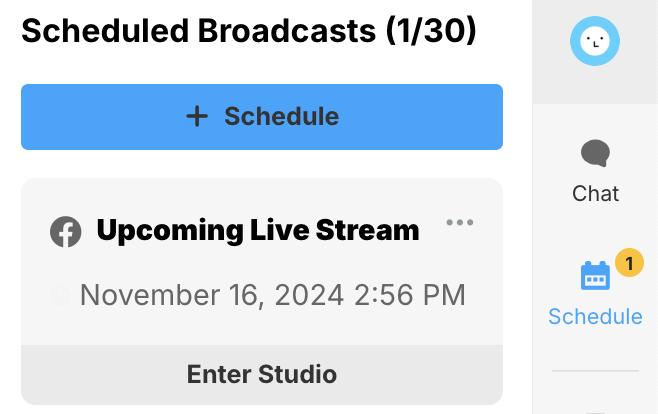
To initiate the scheduled stream click the Schedule icon which at this point should highlight how many scheduled streams you set up and then click Enter Studio for that scheduled stream. At this point, you can invite your guests before you go live.
Now just press Go Live as usual to start your scheduled stream. If you run into any issues or have any questions, reach us by emailing, [email protected]. Happy Streaming!
The Talk Studio Team