Facebook is a great platform to start livestreaming from since you'll be able to create new friends and communities in order to grow your personal brand:
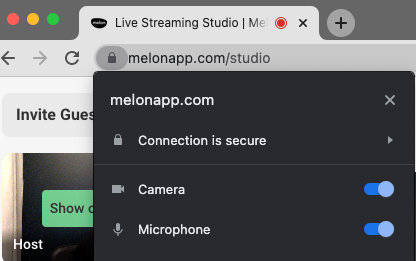
1. Enable Microphone and Camera
When first logging into Talk Studio, your browser will prompt you to allow access to your Microphone and/or Camera, which by accepting you will be able to stream on Talk Studio without any immediate technical difficulties. If you run into any issues, simply reload our site to start over. You can also check your permissions by clicking the lock icon located on the left next to your browser's address bar.

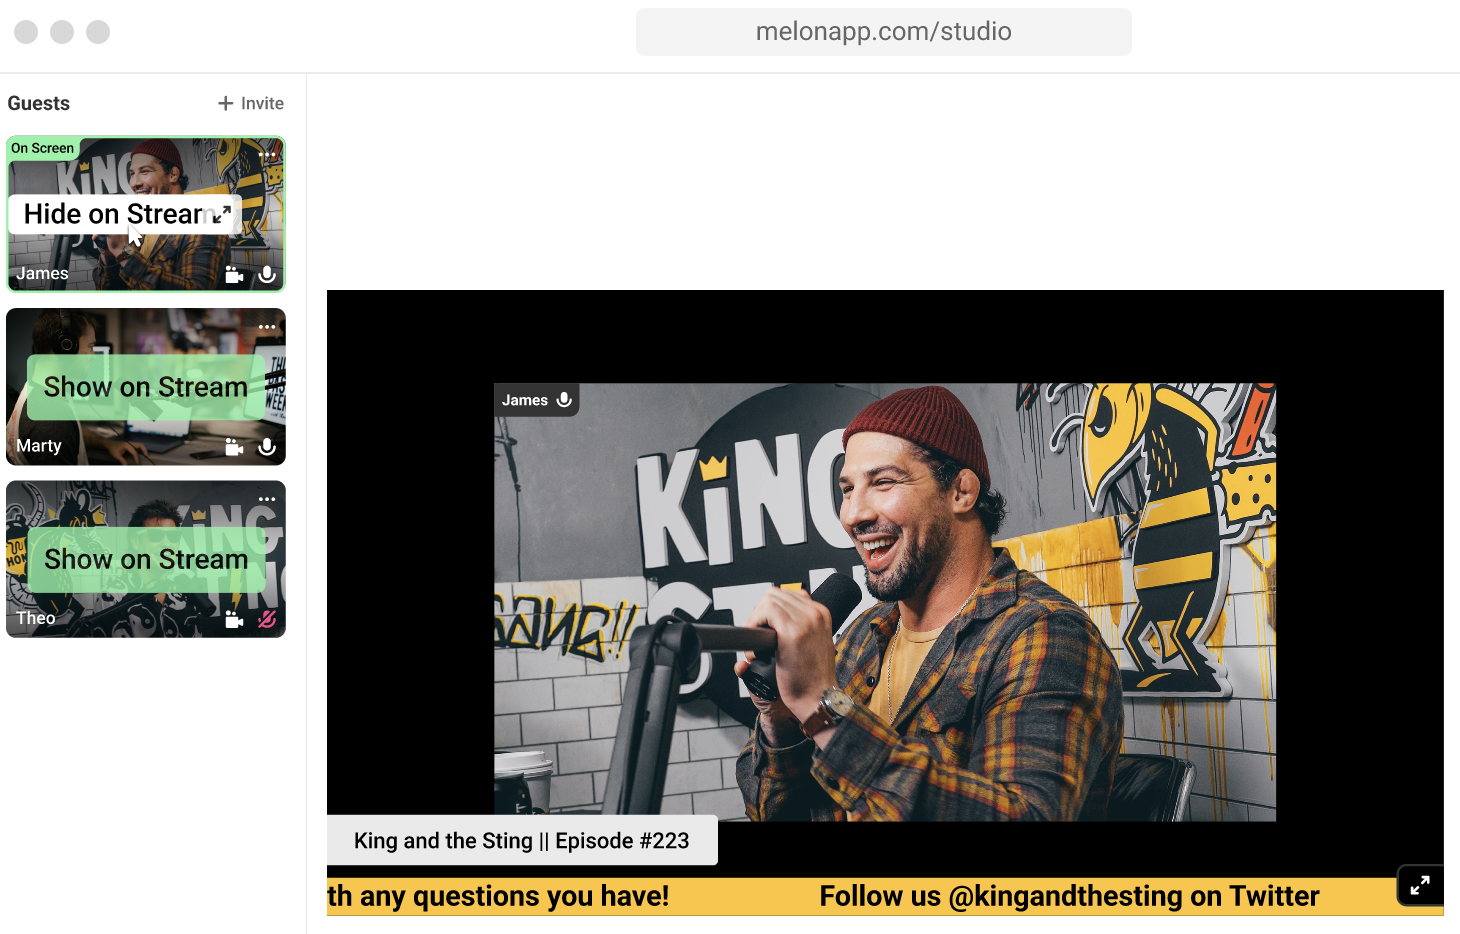
2. Add Yourself to the Stream
The middle screen shown from your Talk Studio is defined as your blank/main canvas. Whatever you select to Show on Stream will be shown on your Livestream, which includes yourself as well as any guests you have invited to your stream.

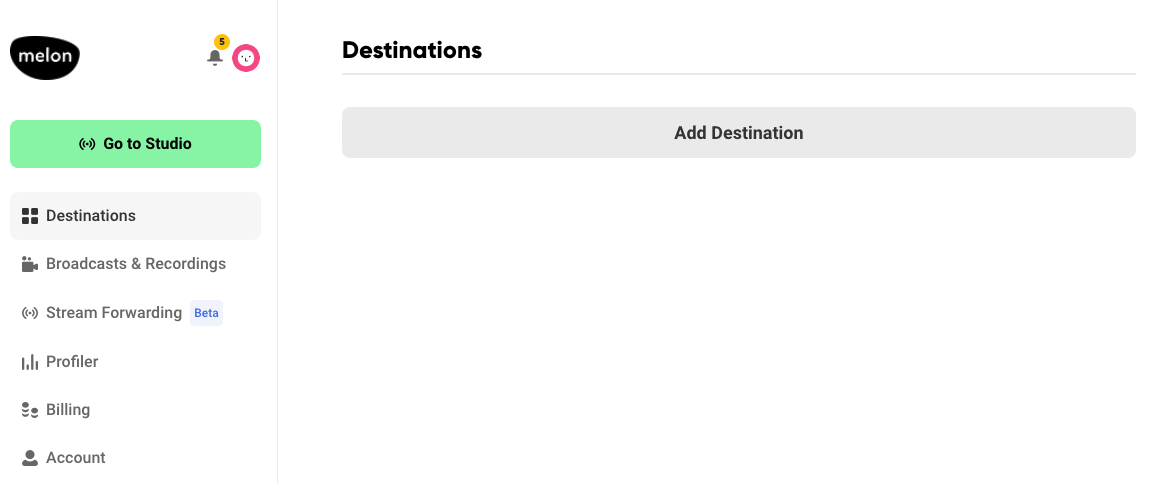
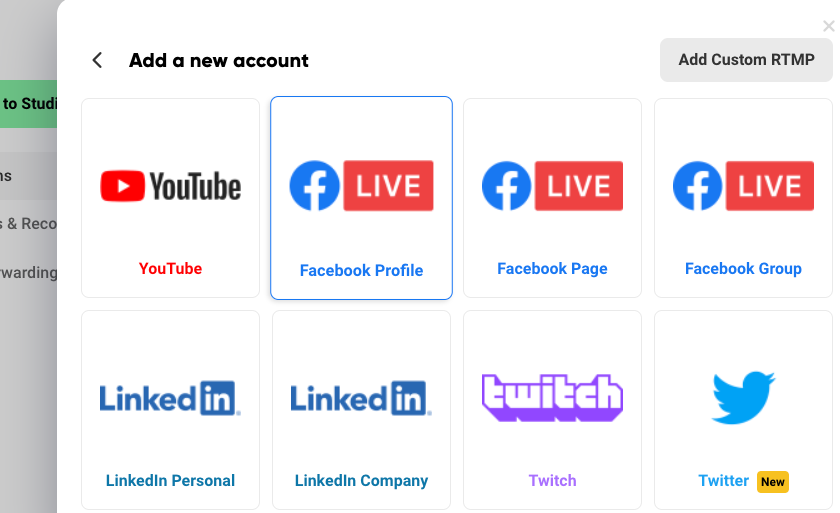
3. Connect your Facebook Account
Connect your Facebook Page,or Profile by visiting your Destinations page. Here, you'll be able to link all your social sites and your Facebook to Talk Studio so that you can stream directly from our site at any time.
Facebook has removed the ability to stream directly to groups via third-party applications. You can bypass this limitation using a custom RTMP and stream to a Facebook group. You can find more information on this change implemented by Facebook here.


4. Facebook Permissions
Lastly, we recommend that you check your Facebook Page,or Profile Settings page to check that you have Talk Studio as an app your Facebook page/profile can use to stream.
- Page/Profile: Please check your Facebook Business Integrations page.
You're all set! Now, whenever you press Go Live and select your Facebook account you'll be able to stream right away! Success!
To recap:
- Enable your microphone and camera access.
- Add yourself by pressing Show on Stream.
- Check that you have added Talk Studio through your Facebook account.